Thursday, December 18, 2008


Yesterday I purchased my new gauges for the truck. Found a three gauge insert that has room for a small tachometer in the middle. Here are some photos of the insert and the gauges going into it.

Saturday, November 15, 2008


I worked on plugging all the firewall holes yesterday using plastic plugs from Ace Hardware. I siliconed them in with black rtv sealant. Fast way to get 40 plus holes filed

Tuesday, November 4, 2008


Engine coming together. Primed oil pump today. Here are a few shots


Friday, October 24, 2008

This was a frustrating week trying to get the engine sealed up, but I kept running into things I'd forgetten or needed or for the engine. Once I started on the timing chain housing I was frustrated to find the new housing had a tear in the new front seal. Since it was an aftermarket housing, they used a different seal entirely, which requires a lip to the front seal. No info was provided as to what replacement seal was needed. Two days later I finaly got a hold of a company rep who said he's send two new seals out to me. Now I have to wait for those to arrive. Other missing items included a dip stick tube, and a waterpump backing plate. It's costly and time consumming to track all of this stuff down. I'm hoping the new front seal will arrive tomorrow, so I can seal it up, and prime the oil pump. Then I have about a month to patch fire wall hole, rebleed the brakes, and get everything back on the front end of the trucks body.

Friday, October 17, 2008


Well the engine arrived and I manged to muscle it onto a engine stand without help. Here is a couple of photos of the long block and some mockups with the intake, carb, distributor and valve covers on.

Thursday, October 16, 2008

I haven't updated in a while. Lots of other stuff keeping me busy. The 460 rebuilt longblock arives tomorrow, so the engine build will finally be under way. I have amassed a ton of parts over the last few months, I just need to get a harmonic balancer to have whats needed to complete the engine. It's starting to look like I might get it out on a test drive before Christmas!

Wednesday, September 10, 2008


Monday and tuesday this week I worked more on sanding the back panel and glasing the small holes in the body filler.I removed the front and rear windshields and bought a complete new glass set on Ebay for a steal! I also removed the front grill lower valence piece that was half rusted away. Someone at one time decided to shore it up and welded it to several bolts going into the frame work in front of the radiator. That posed a challenge getting it off.
Next, after getting as close to flat as I could with bondo, I primered the exposed parts of the cab, which helped light up the flaws that still need to be worked out.

Saturday, September 6, 2008


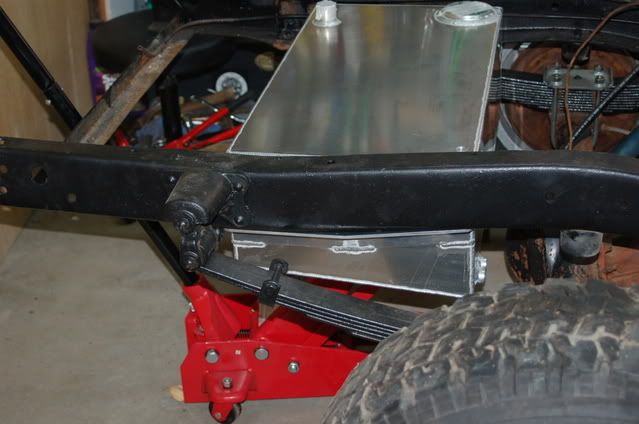
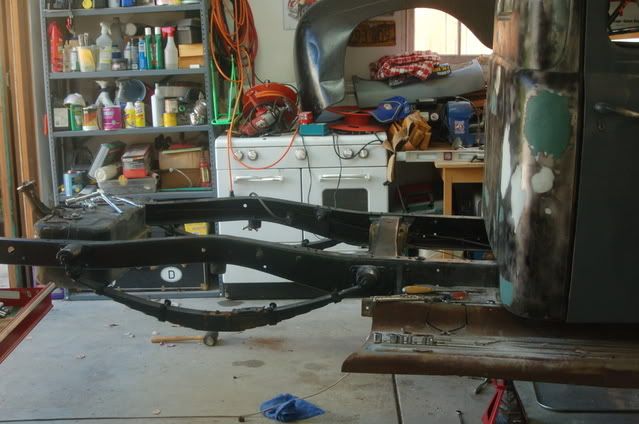
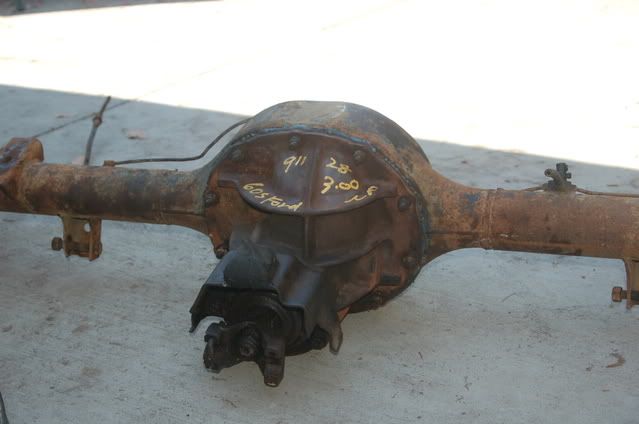
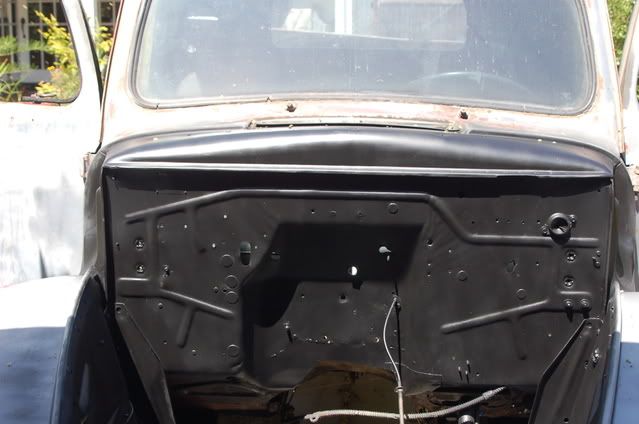
Well it was 101 F today. Youch! Major headache to match the heat, but some more goodies arrived by mail. My new gas tank came in, so I spent the better part of the morning figuring out how to plumb it, using both solid aluminum fuel lines and braided stainess hose with anodized fittings. There should be a class in the use of and understanding thereof of the fittings(i.e. size -6, -8, and all the wierd little gizmos you need to connect to different things like Edelbrock carbs, stock fuel pumps, inline fuel filters, 37 degree flring tools... but the summit boys and fellow members came to the rescue again. Here is a photo of the gas tank in a mock up of where it will mount under the bed!
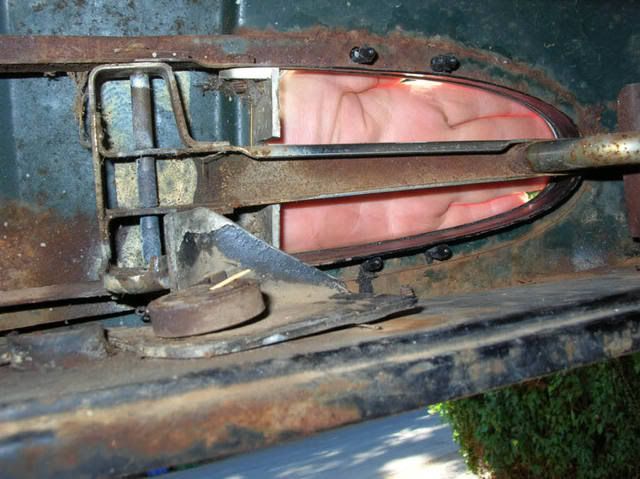
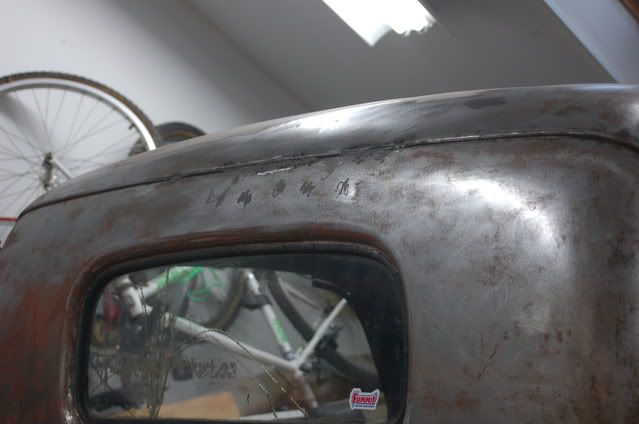
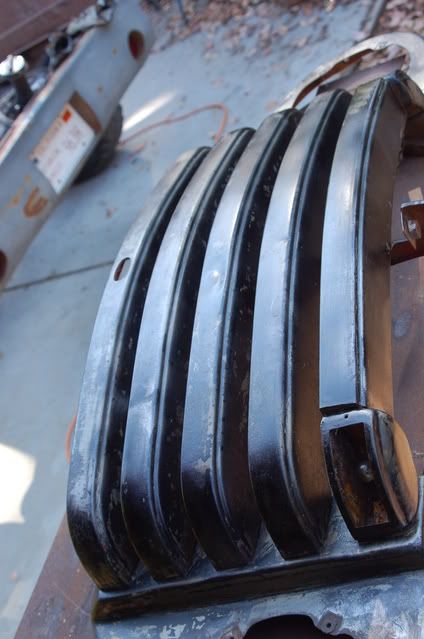
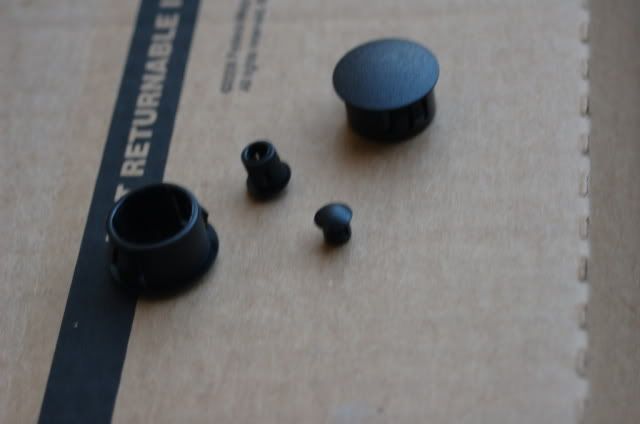
I also found out what's missing from my hood latch. A fellow 48 F1'er sent of photo of the hood latch retaining spring, which I am missing. Now just to find one!
Here's the little culpret! Thanks for this picture Tom

Tuesday, August 26, 2008


Started the axle swap yesterday. I got as far as mounting the new transaxle when I discovered the u-bolts and the leaf spring plates I had wouldn't work. So I was able to track down what I needed from a place called No limits Engineering. Good helpful folks there. Here is what that looks like so far.

Saturday, August 23, 2008


Worked on the roof seem yesterday and today. I am using Evercoat's metal 2 metal body filler for the roof seam, both inside and out, topped by their Rage filler. The metal 2 metal works very well and is rust and moisture proof. Next the Rage top coat smooths it all out. After doing a couple of layers of that, I added yet another layer of fiber filled filler today to help keep it all from cracking out, which will then be skim coated with another coat of Rage when I'm done. I then hit all the exposed metal surfaces with One step rust coverter, for a total of three coats. Here are some shots from yesterday.

Tuesday, August 12, 2008


I picked up my diferential today. It's a late 60's F100 axle with a 3.0 pumpkin swap. The guy gave me the ubolt mounts, emergency brake cables and nice brake drums, total cost $375.00. Best I could find that hooked me up with what I needed. Now this weekend, I'll attempt the switchover! Here are some shots of the 9 inch rear end. The brakes look pretty good, though I will replace the wheel cylinders, and brake lines at the very least. I'll also have to take the drums in, and get them turned.

Friday, August 8, 2008


Stripped more paint off the last couple of days, then welded holes above the rear window at the seam, which I will eventually do the entire seam(very slow and pain staking, not to mention I suck at welding and grinding) and scored a aluminum gas tank from Classic Performance Parts for 150 dollars less than list, made to fit under the bed with a bed fill that is flush mounted to the wooden bed, today off Ebay. Here are some shots of the truck and tank.

Wednesday, July 30, 2008


So Monday and Tuesday I started to strip paint off the roof of the truck. Under many coats of paint, I found bondo and huge pitted rust areas. So I'm glad I went thru the effort to get to the metal. Here are some shots.

Sunday, July 27, 2008

My mascot and his faithfull companion


Pretzel is a great pal. Always following me around, begging for walks or a game of fetch. He also has a great sense of humor, as he will bounce tennis ballls on me while I'm under the truck or climb in the cab if I leave the door open!

Heres a shot with his girl friend Teva!

What I would like the truck to look like


Here are two different f1's that have nice red paint jobs that I'd like to paint this one with. Don't know the names of the reds though!

Body work continued


Just finished this door and have now done the front two fenders, hood, and passenger door.

Welding in old gas filler hole


With no welding experience but lots of encouragement and advice, I bought a MIG welder, and welded in a sheet metal patch on the old filler hole. Here are a few shots.

Gas tank relocation, Welding and Learning!


The old gas tank location is in the cab, behind the driver's seat. Since this is not a safe place, it was relcated to the rear of the chasis, under the pickup bed.

The grill Part 2


So I was able to find a great deal on an intact almost perfect grill on Ebay. Since it was obscurely listed I had no bidding to compete with me, so I got it for less than half of what the normally go for. It had tons of old peeling paint that had to be stripped off, and the hit with a rust inhibitor.Here are a couple before and after shots.