Friday, June 17, 2022

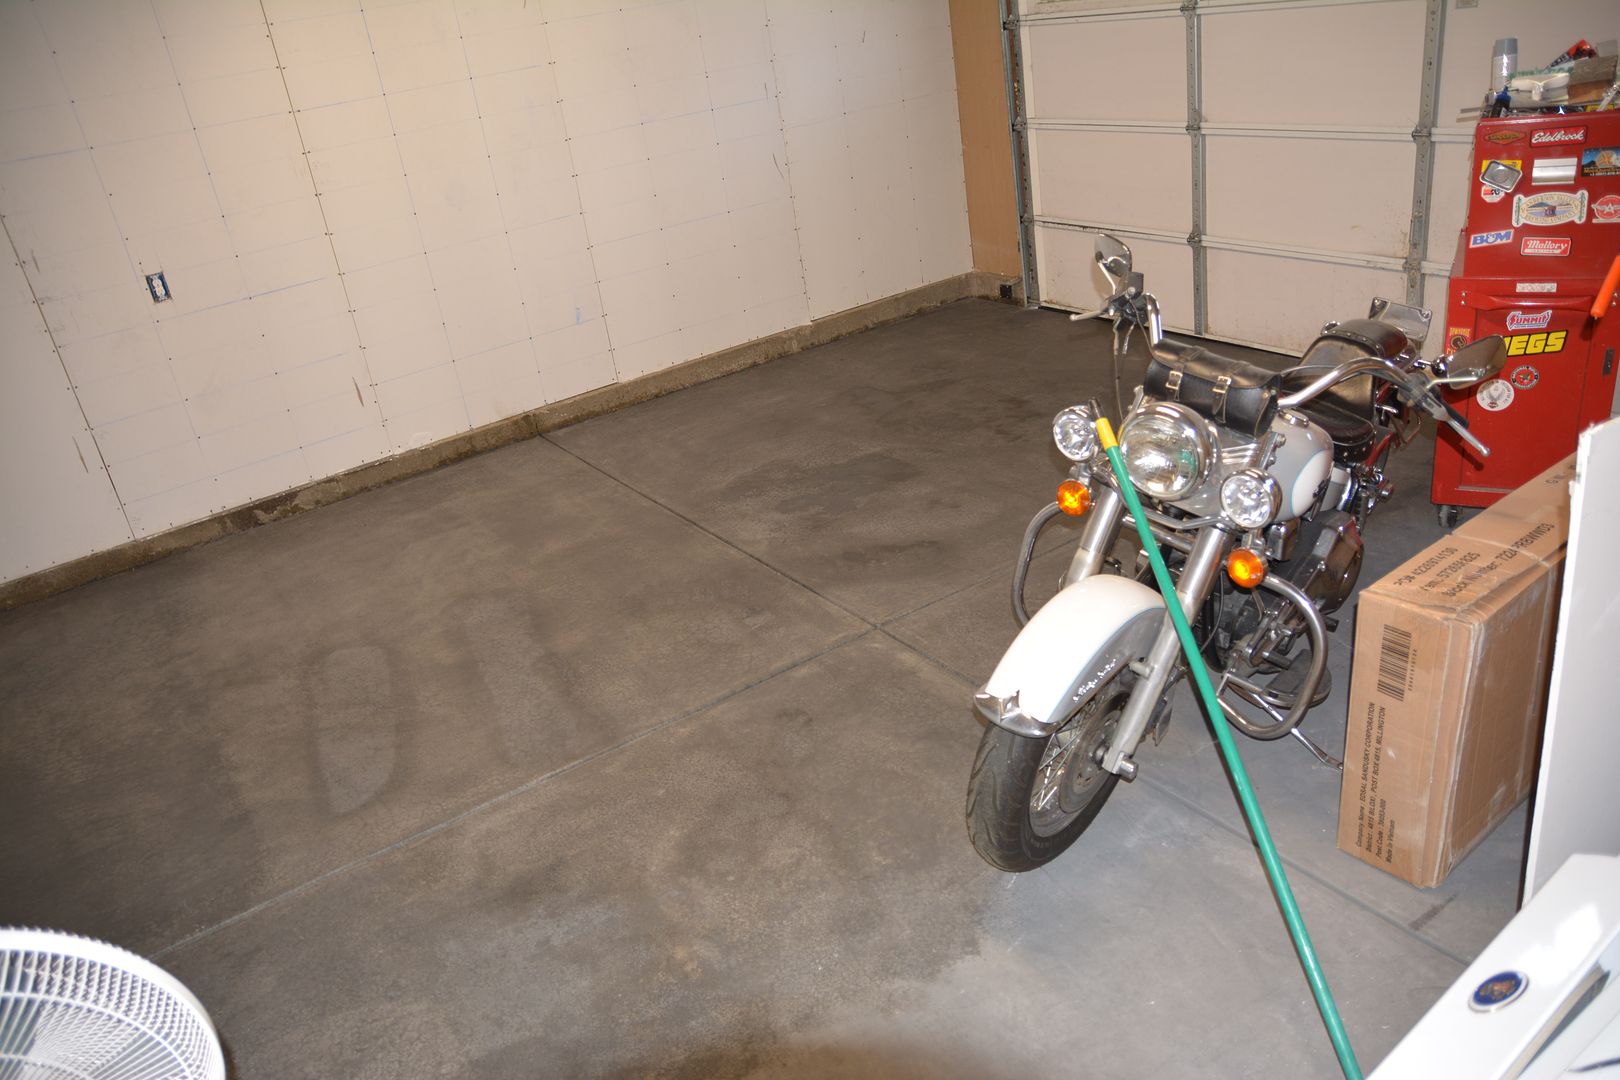
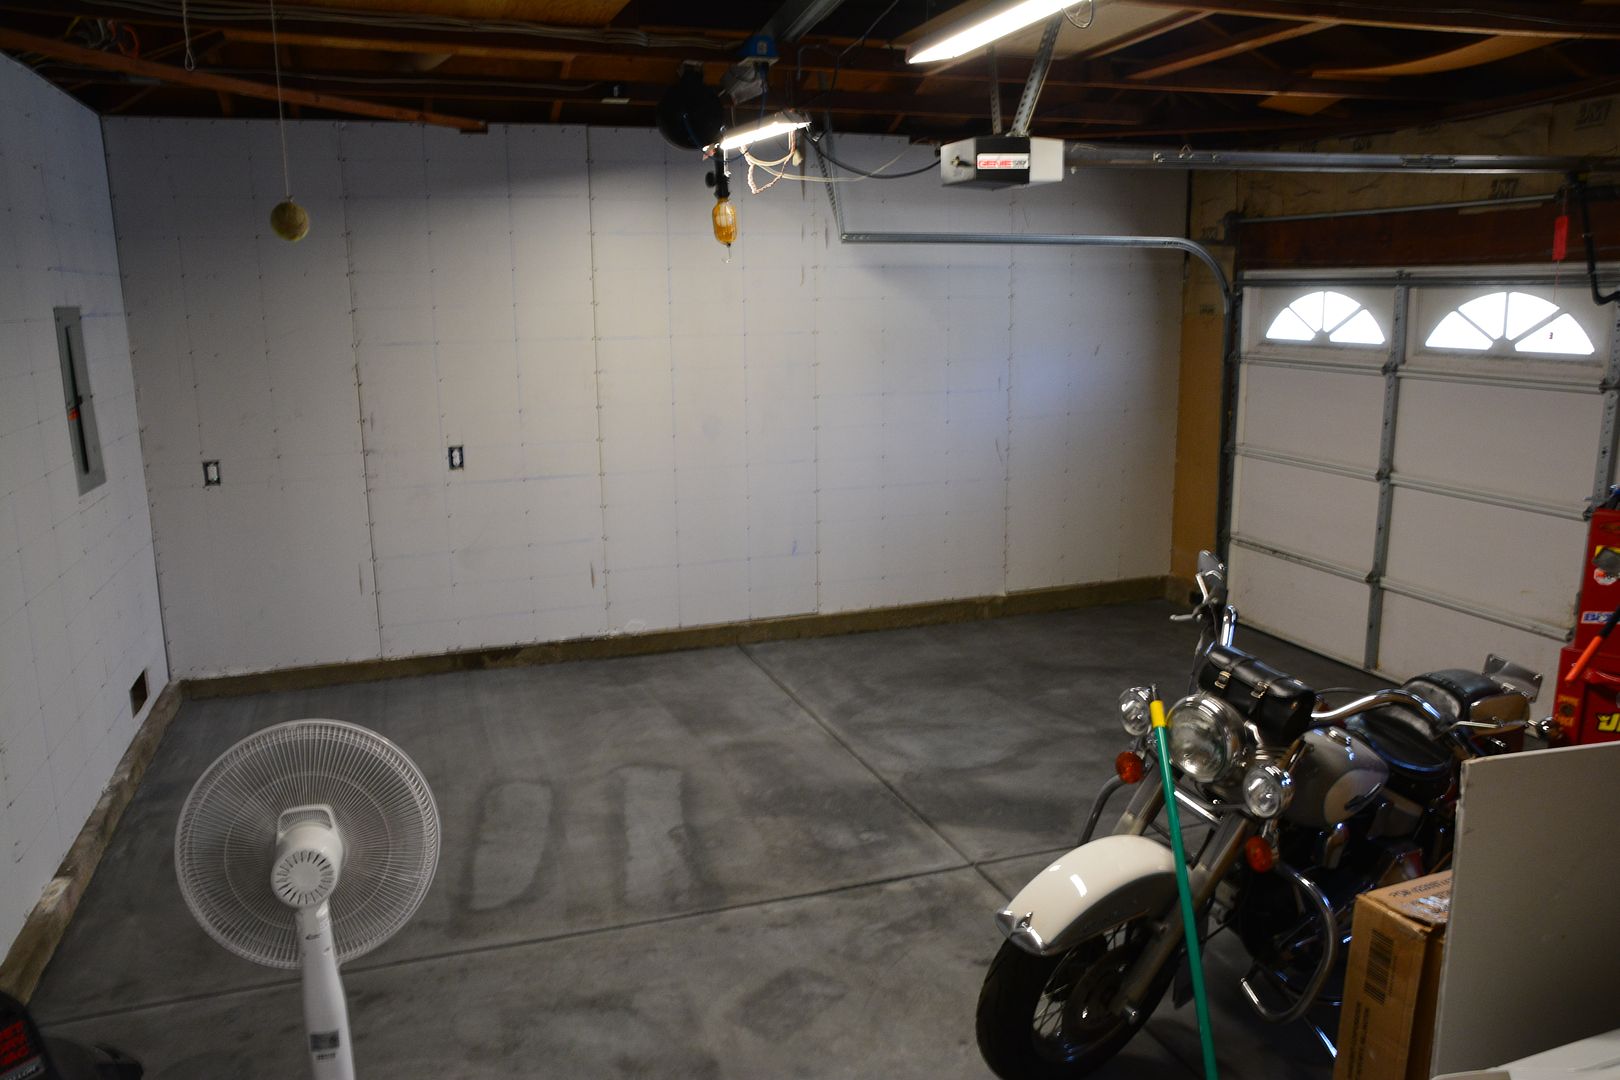
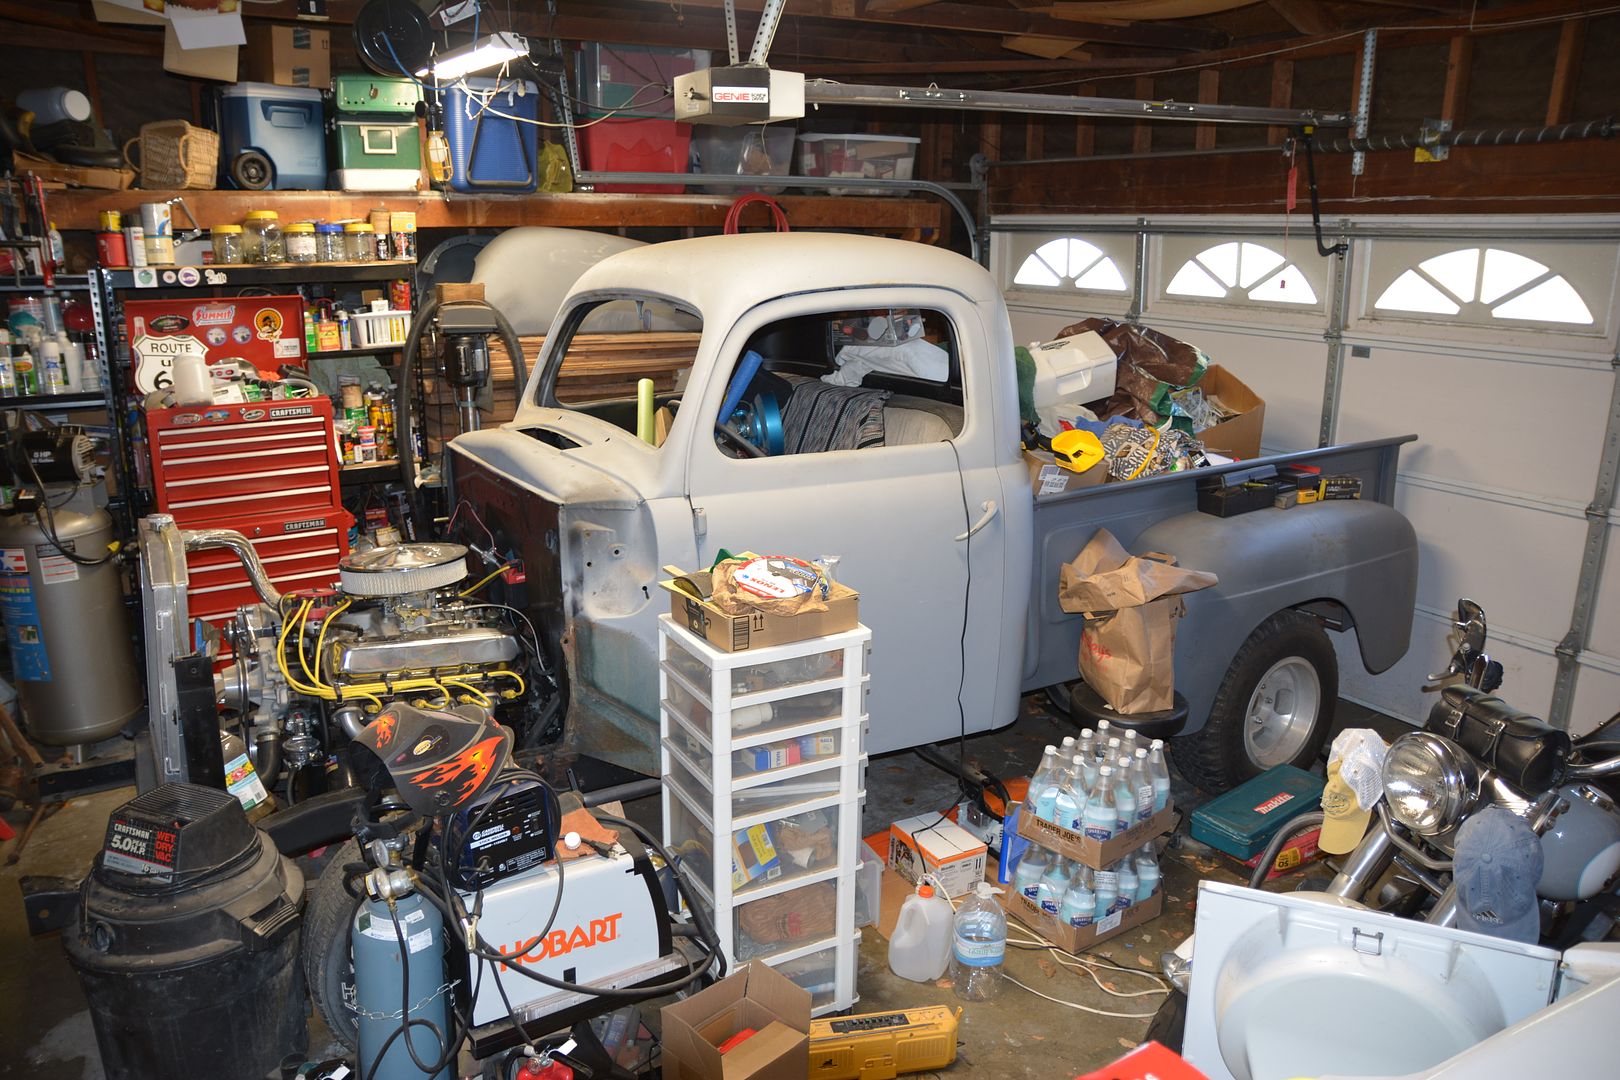
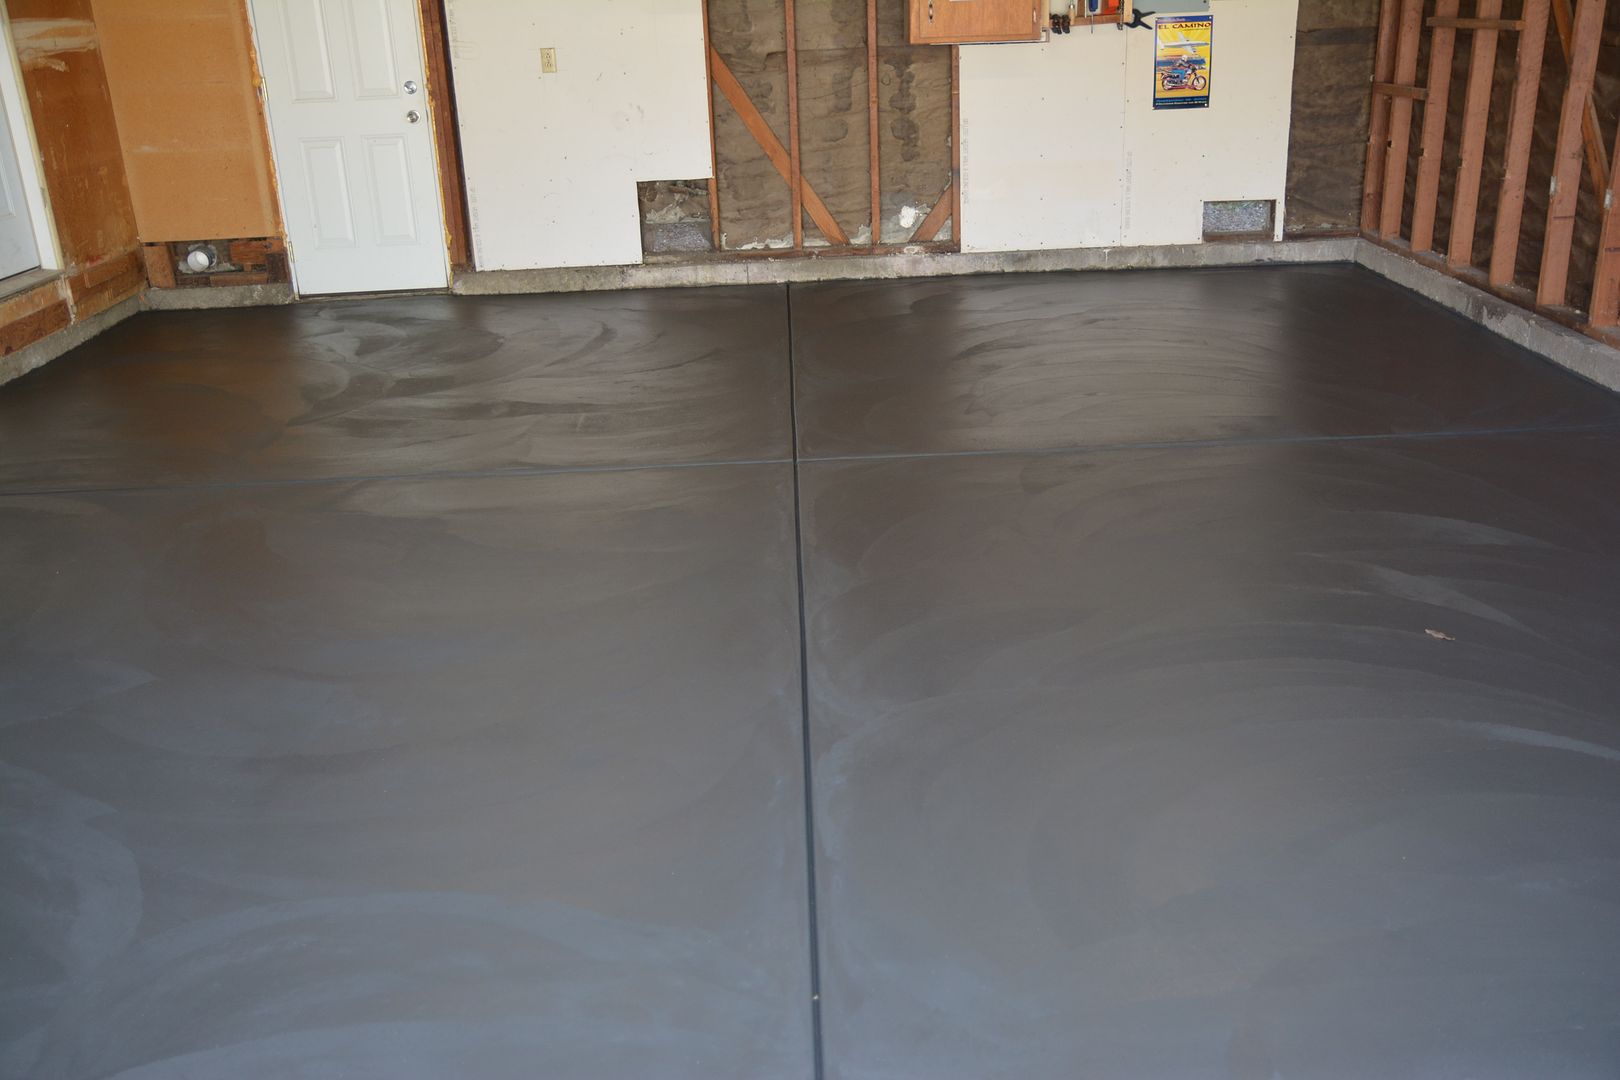
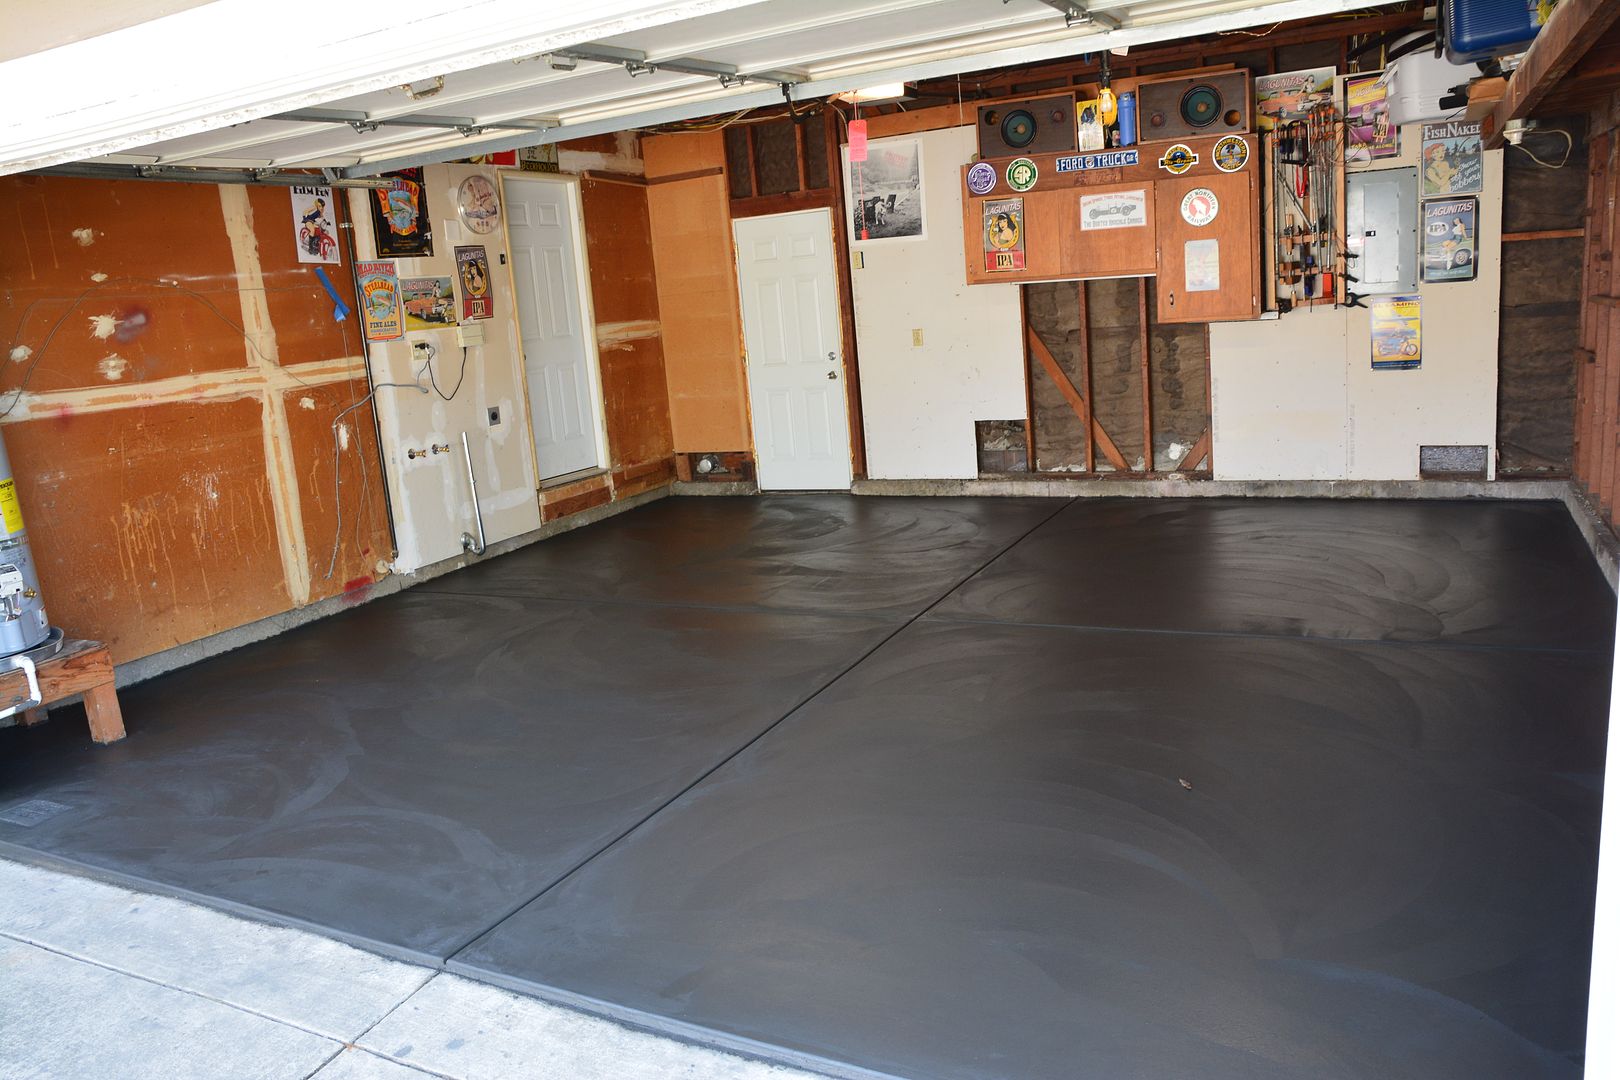
 Garage is finished and all stuff has been sorted t a functional use and space. Next the truck comes back...hopefully tomorrow!


Sunday, May 8, 2022

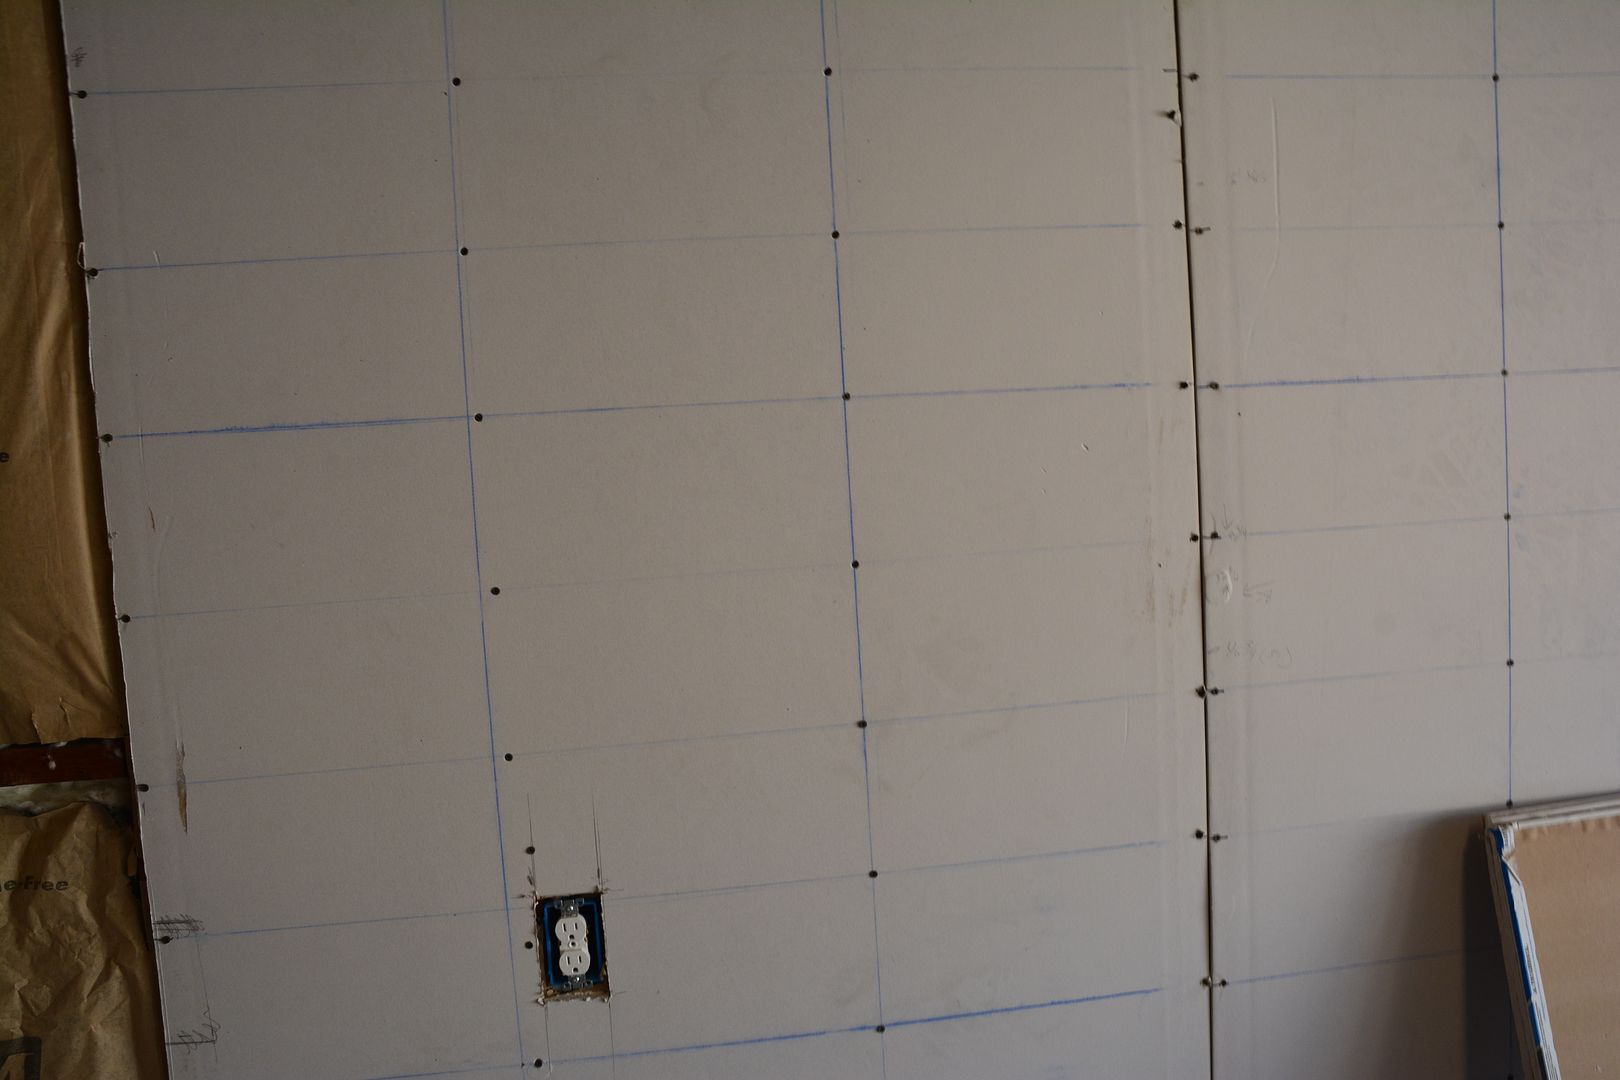
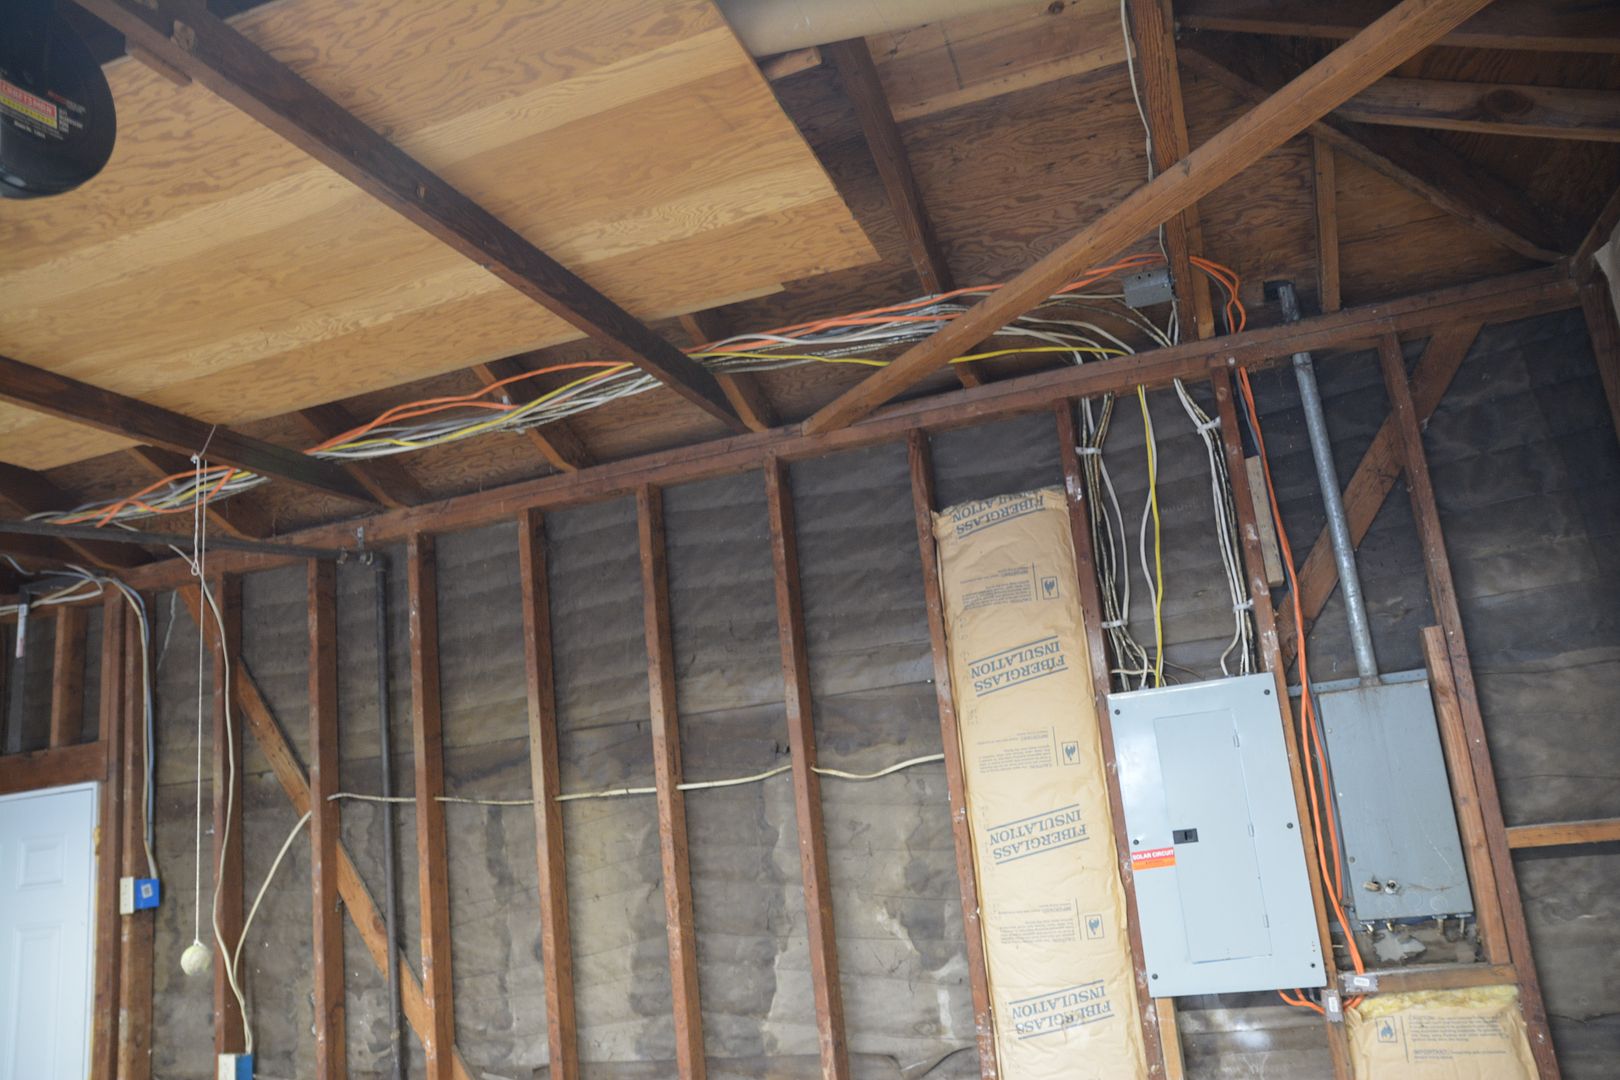
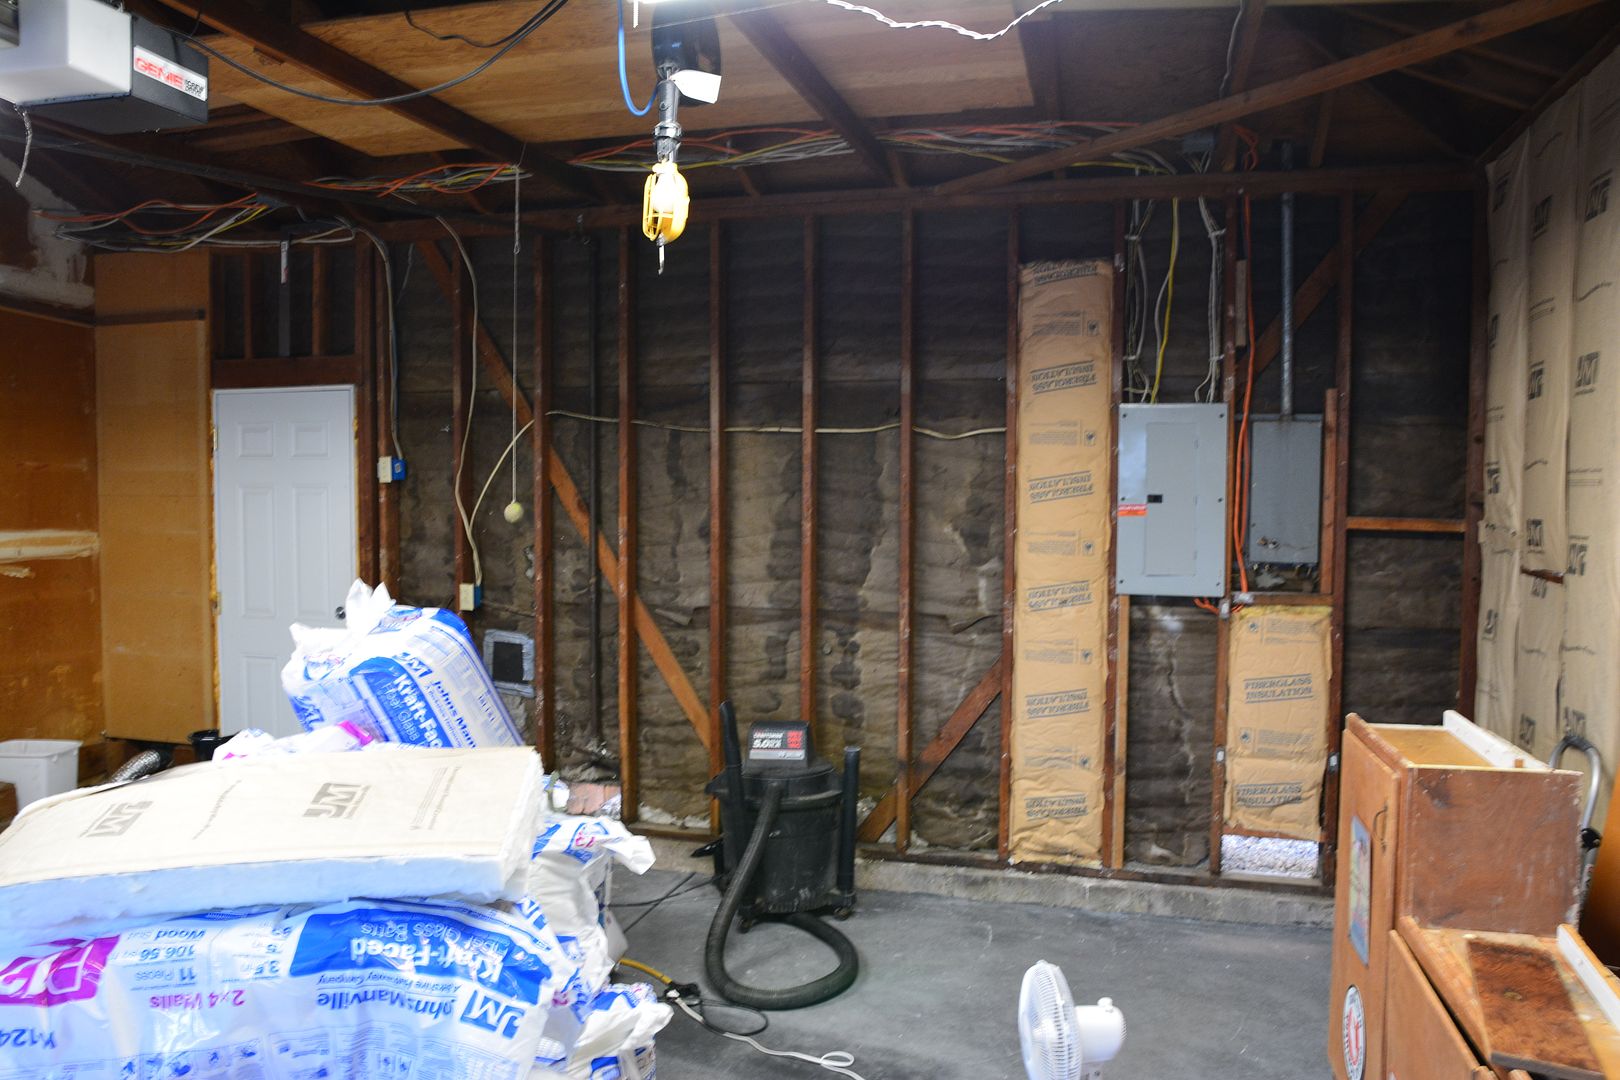
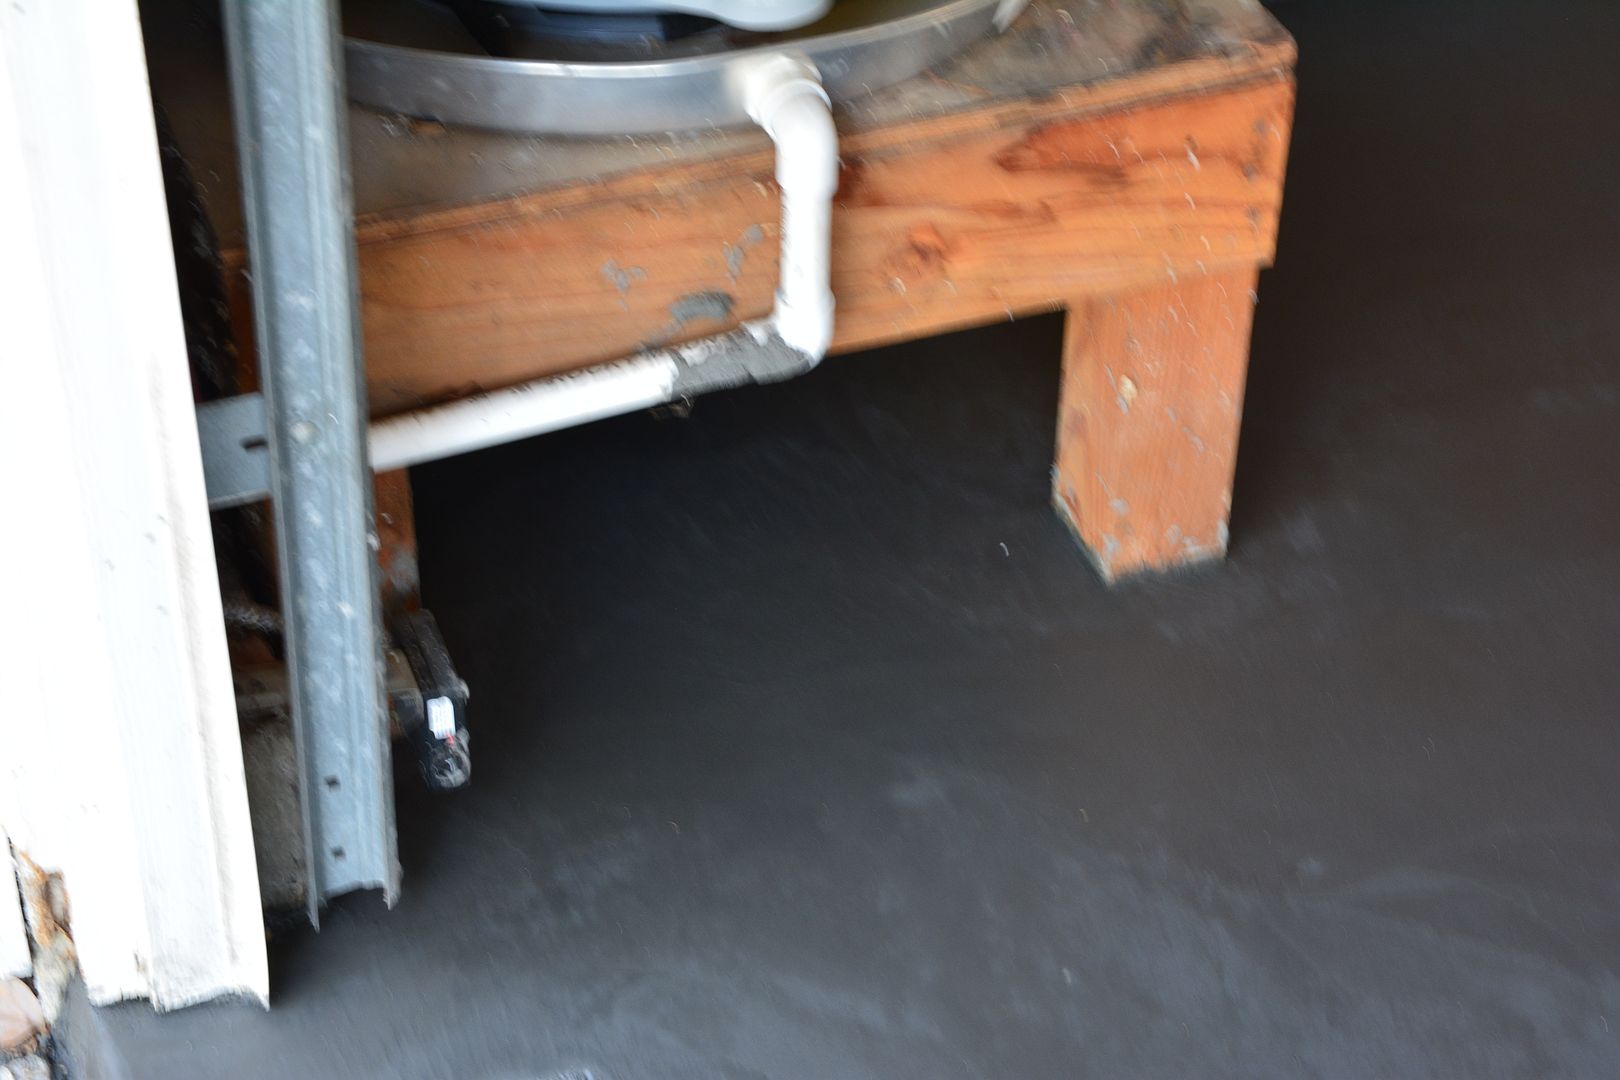
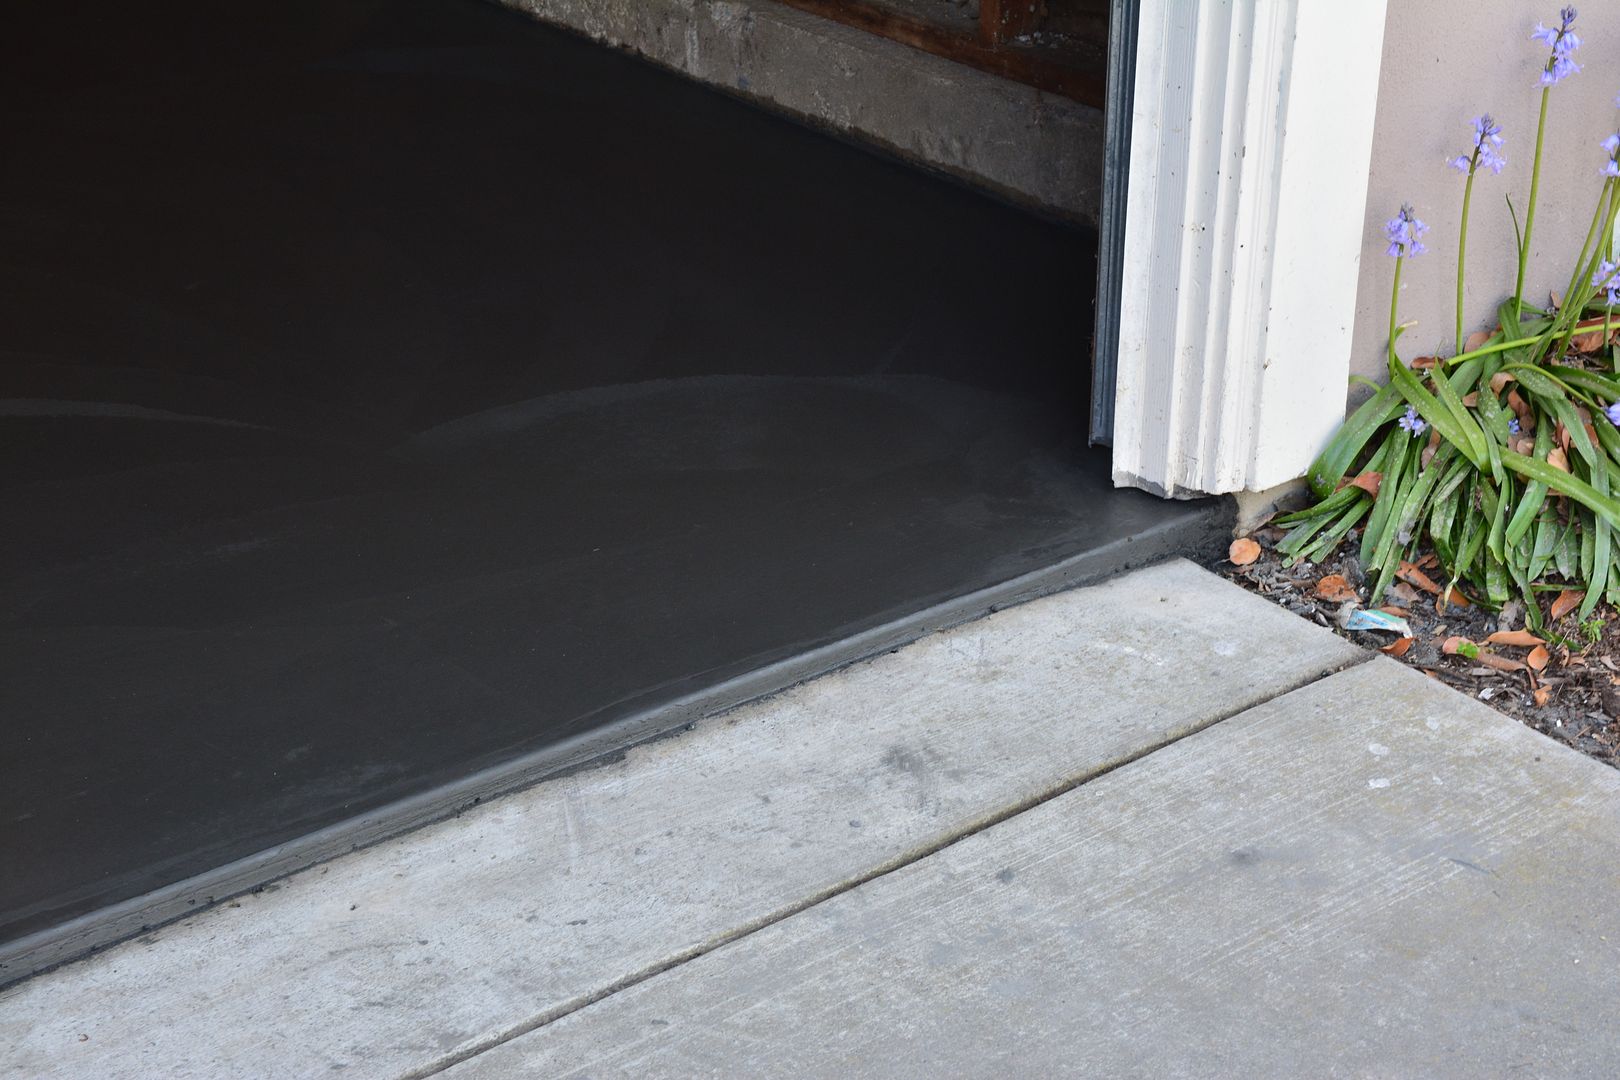
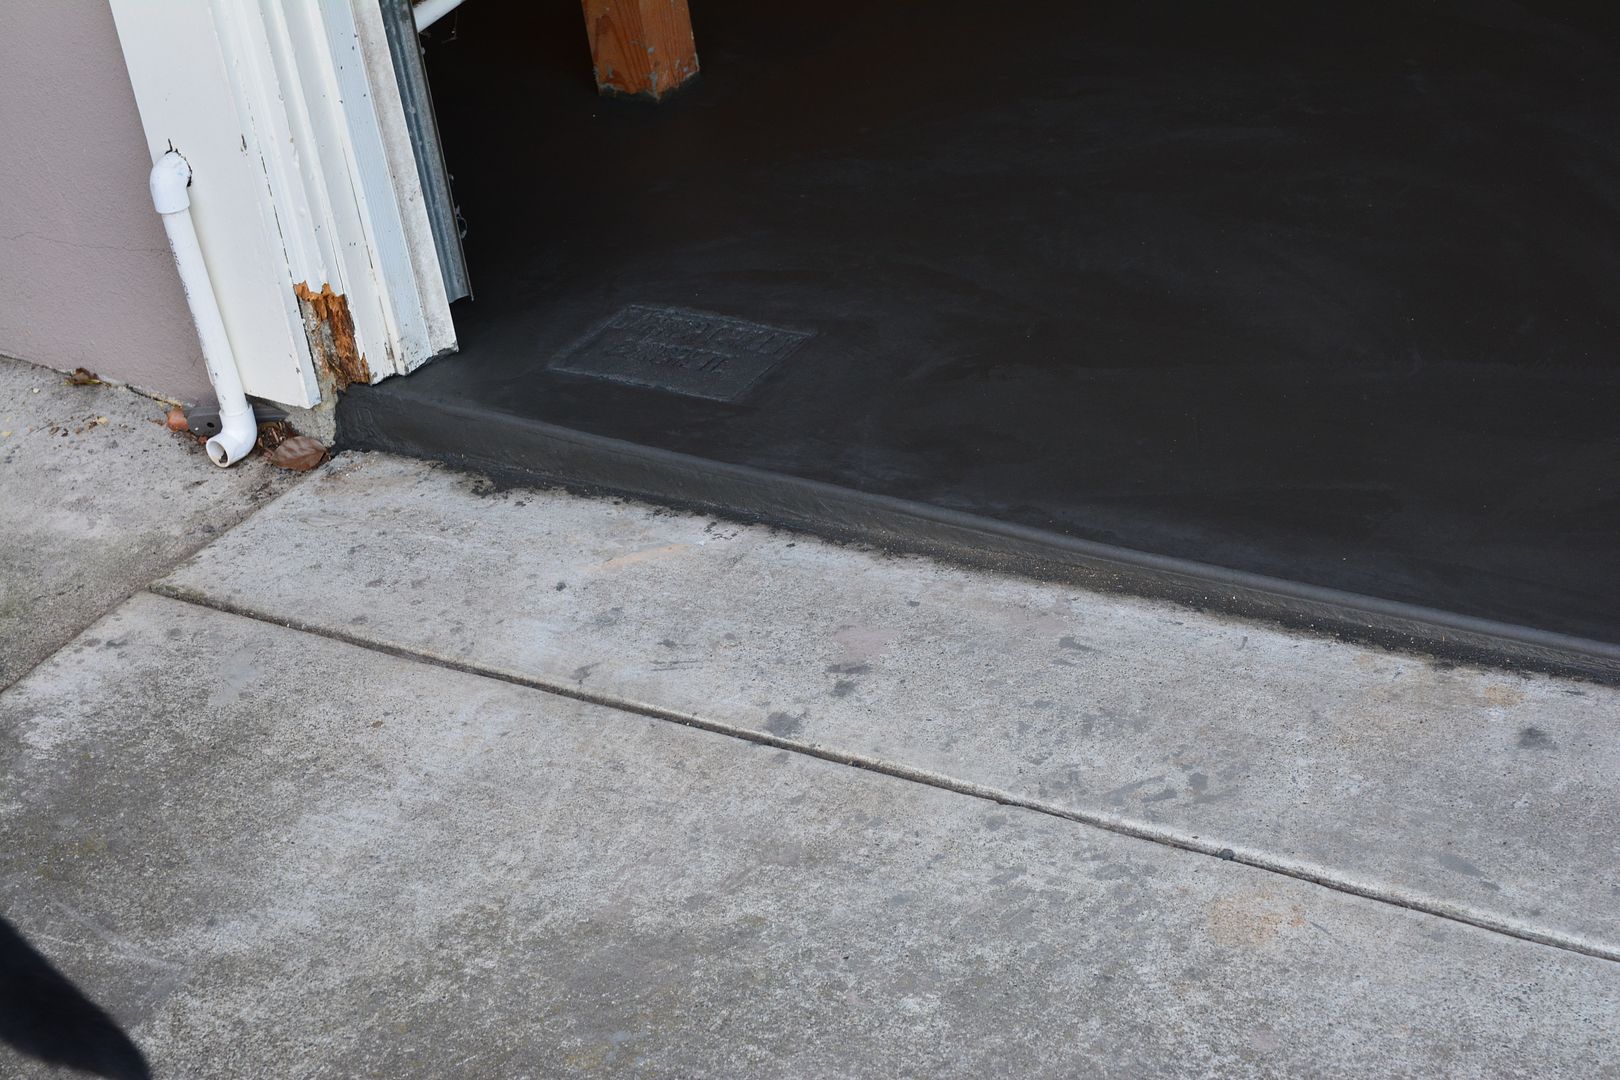
 After rerouting wires to where they are now safely routed thru the studs instead of hanging down over the out side of studs making putting up insulation and drywall impossible. So fter getting the last of the drywall up, yesterday I moved out everything that I could and the rest pushed to one side. Then I mopped and cleaned the cement. After that applied the base coat of cement sealant. I'm using a combo of Ghostshield products. 

Ghostshield: Lithi-Tek 4500 Concrete Sealer/Densifier


and

Siloxa-Tek 8500 Ultra Concentrate

The densifier makes the concrete up to 50-60% stronger, will meake the surface much harder to resist chipping and dusting. It bonds at a molecular level with the cement. This coat takes 7 days to cure before the top coat of 8500 goes on. It will cure in 24 hours to being walked on and  traffic so, today the stuff on the side tat didn't get coated will go tho the treated side and I'll clean and coat this side. If it was less than 24 hours I would have moved it out side but prefer not to have to leave stuff out overnight. The next coat will be 7 days from today with the Siloxa-Tek 8500 concentrate. That product is cured and dry to traffic in a few hours so the whole floor can be done at once. It with make the cement water and asalt resistant to where any spills will float but not penetrate the slab. It is also highly oil repellent giving you time to clean up without staining the slab.


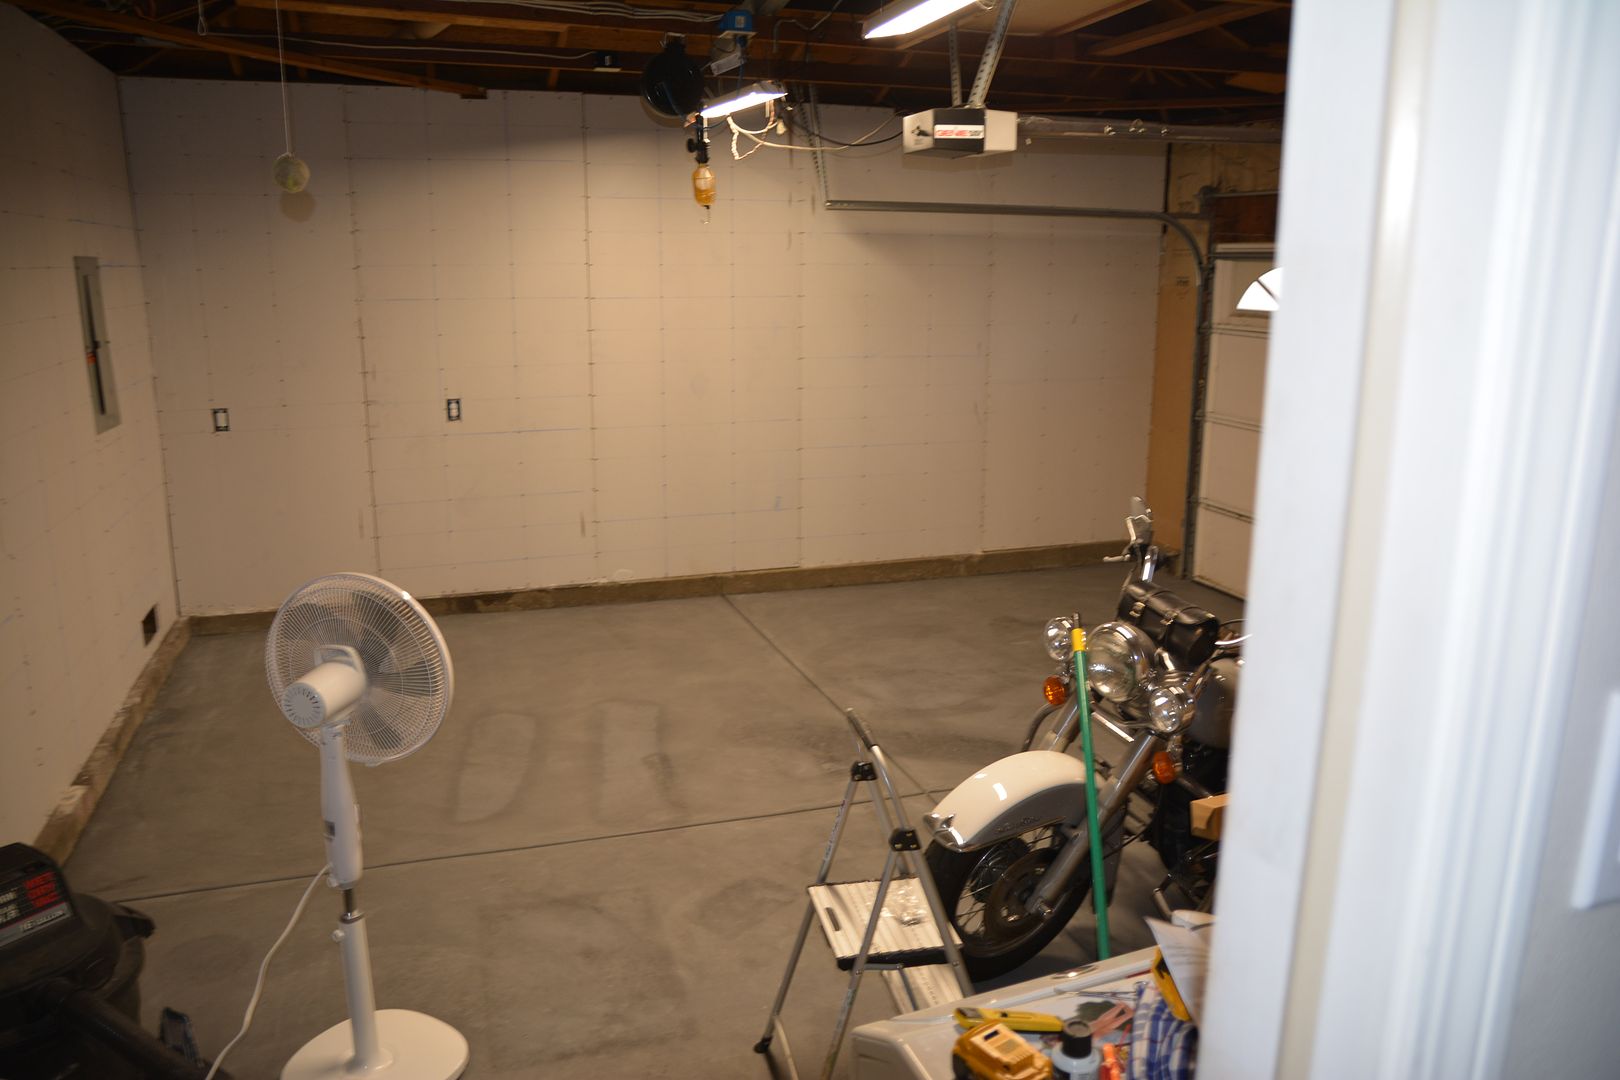
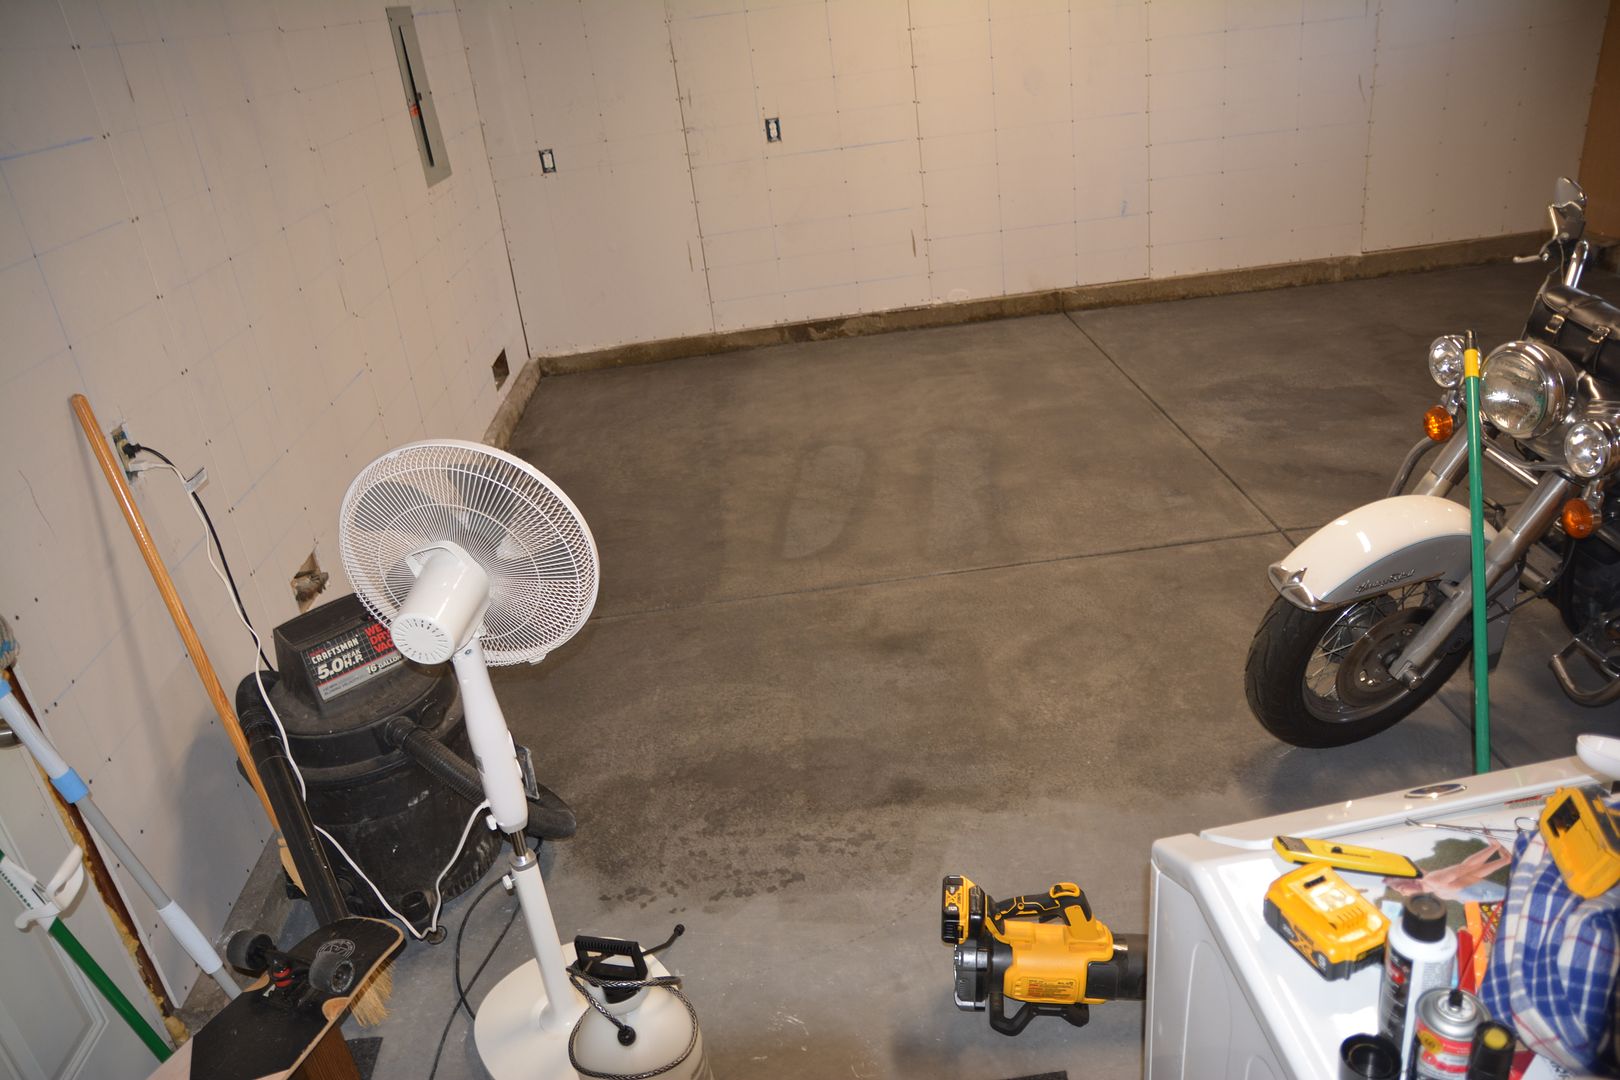
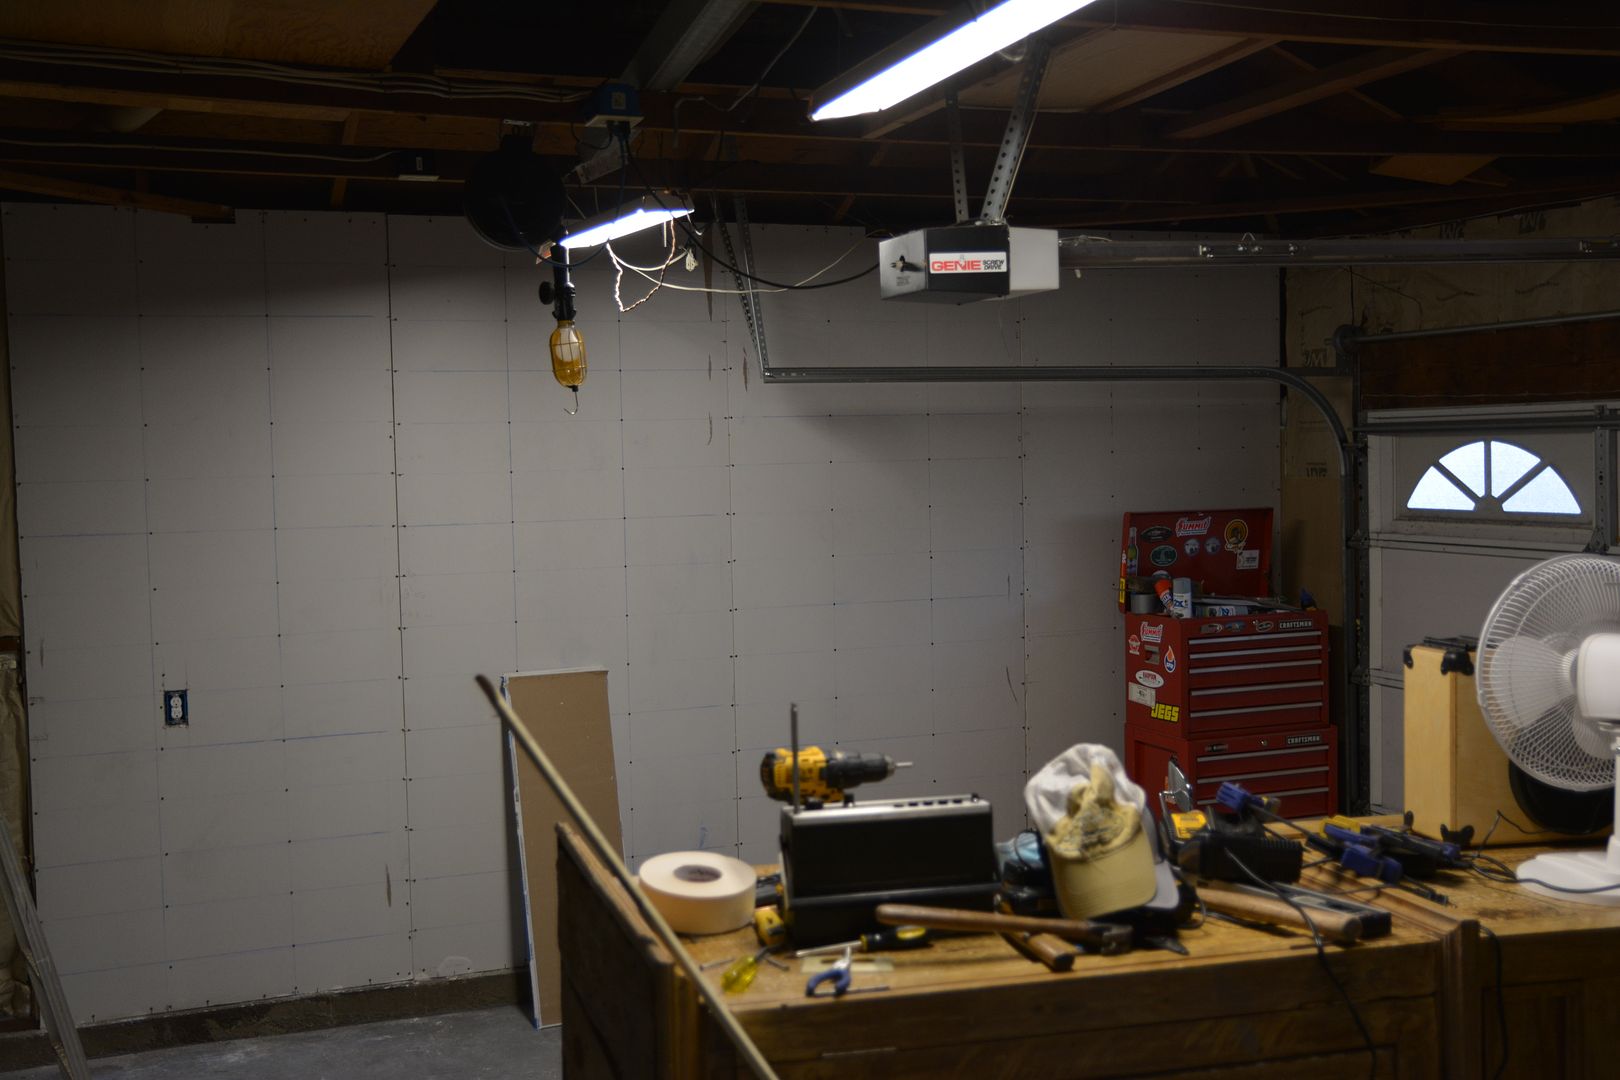
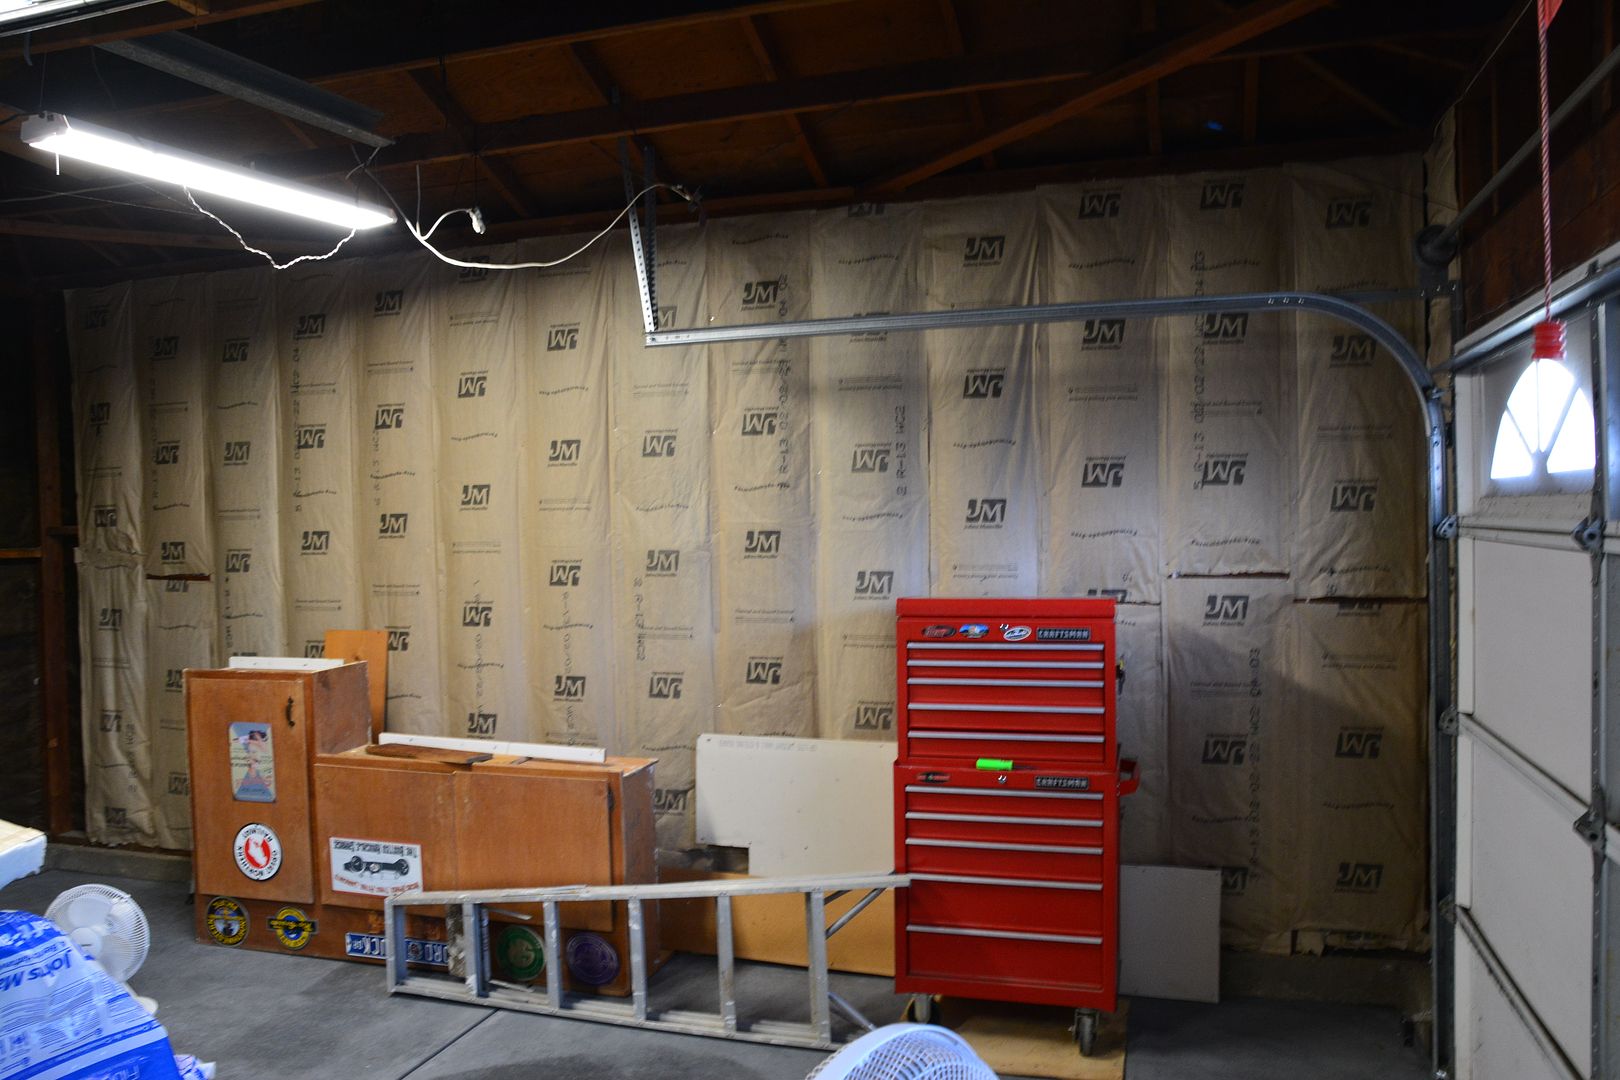
 Next while the cement cured over the next 30 days, I tore down a big 20 foot long shelf on the right side of the garage as it blocked insulation and drywall which was the next project. Interesting enough the plastic bags holding the insulation bats sweated the floor in a few places that now have darker edges!  I also had a hard time finding the insulation in our hardware and lumber supply chain stores. Gotta say the supply chain right now is pretty much not dependable.


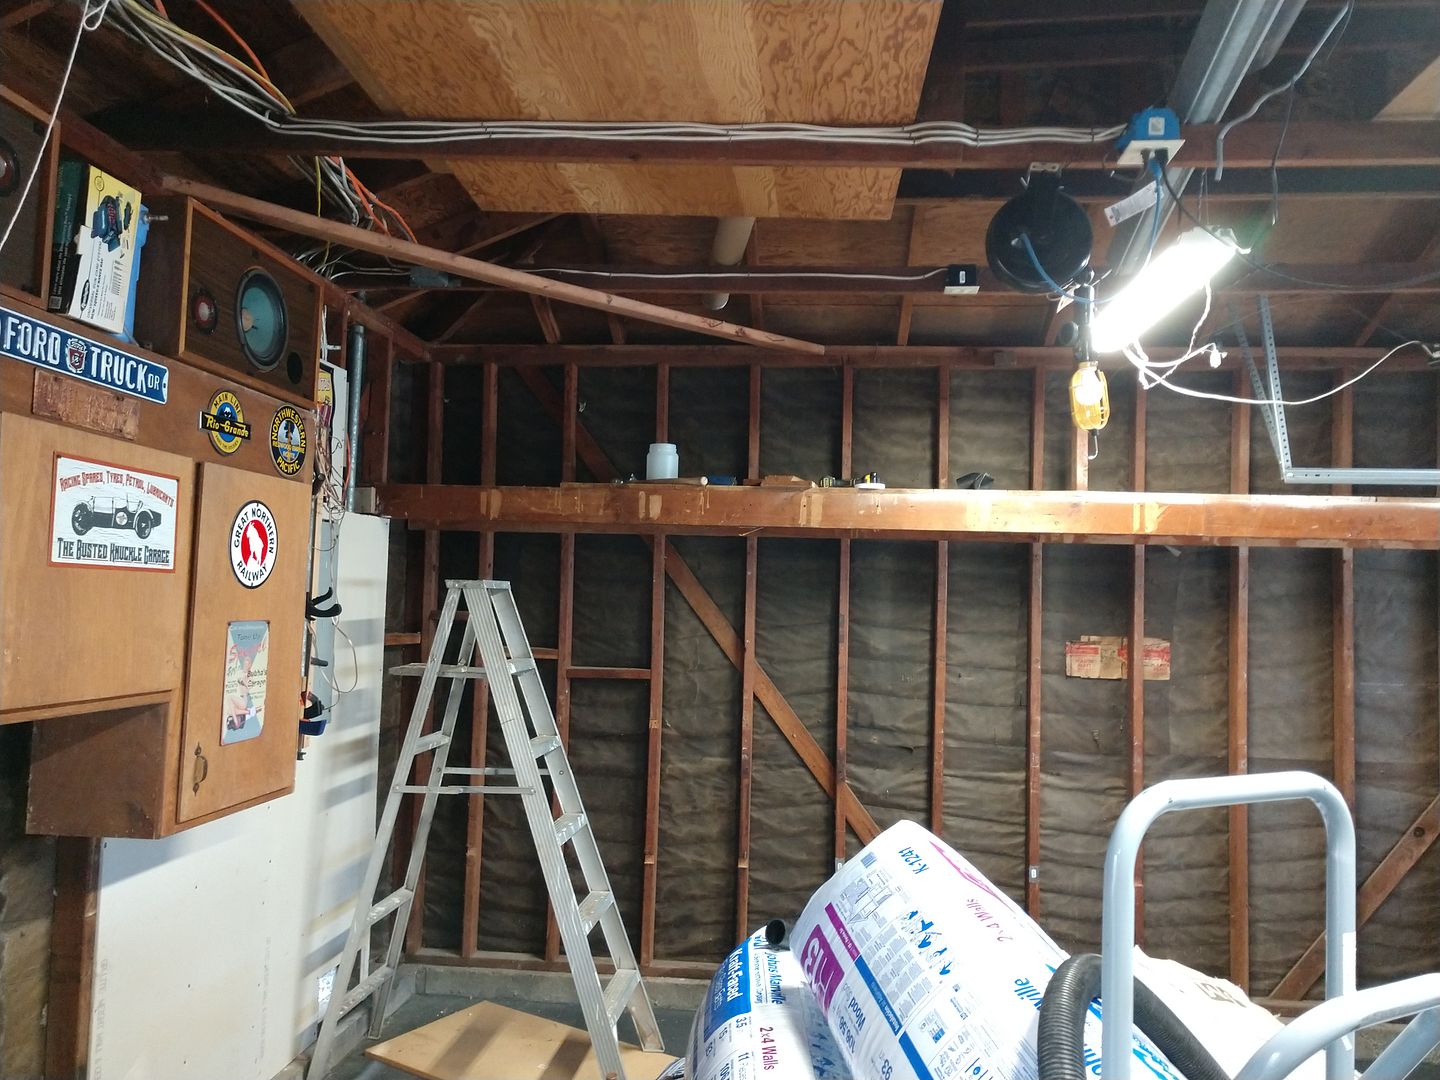
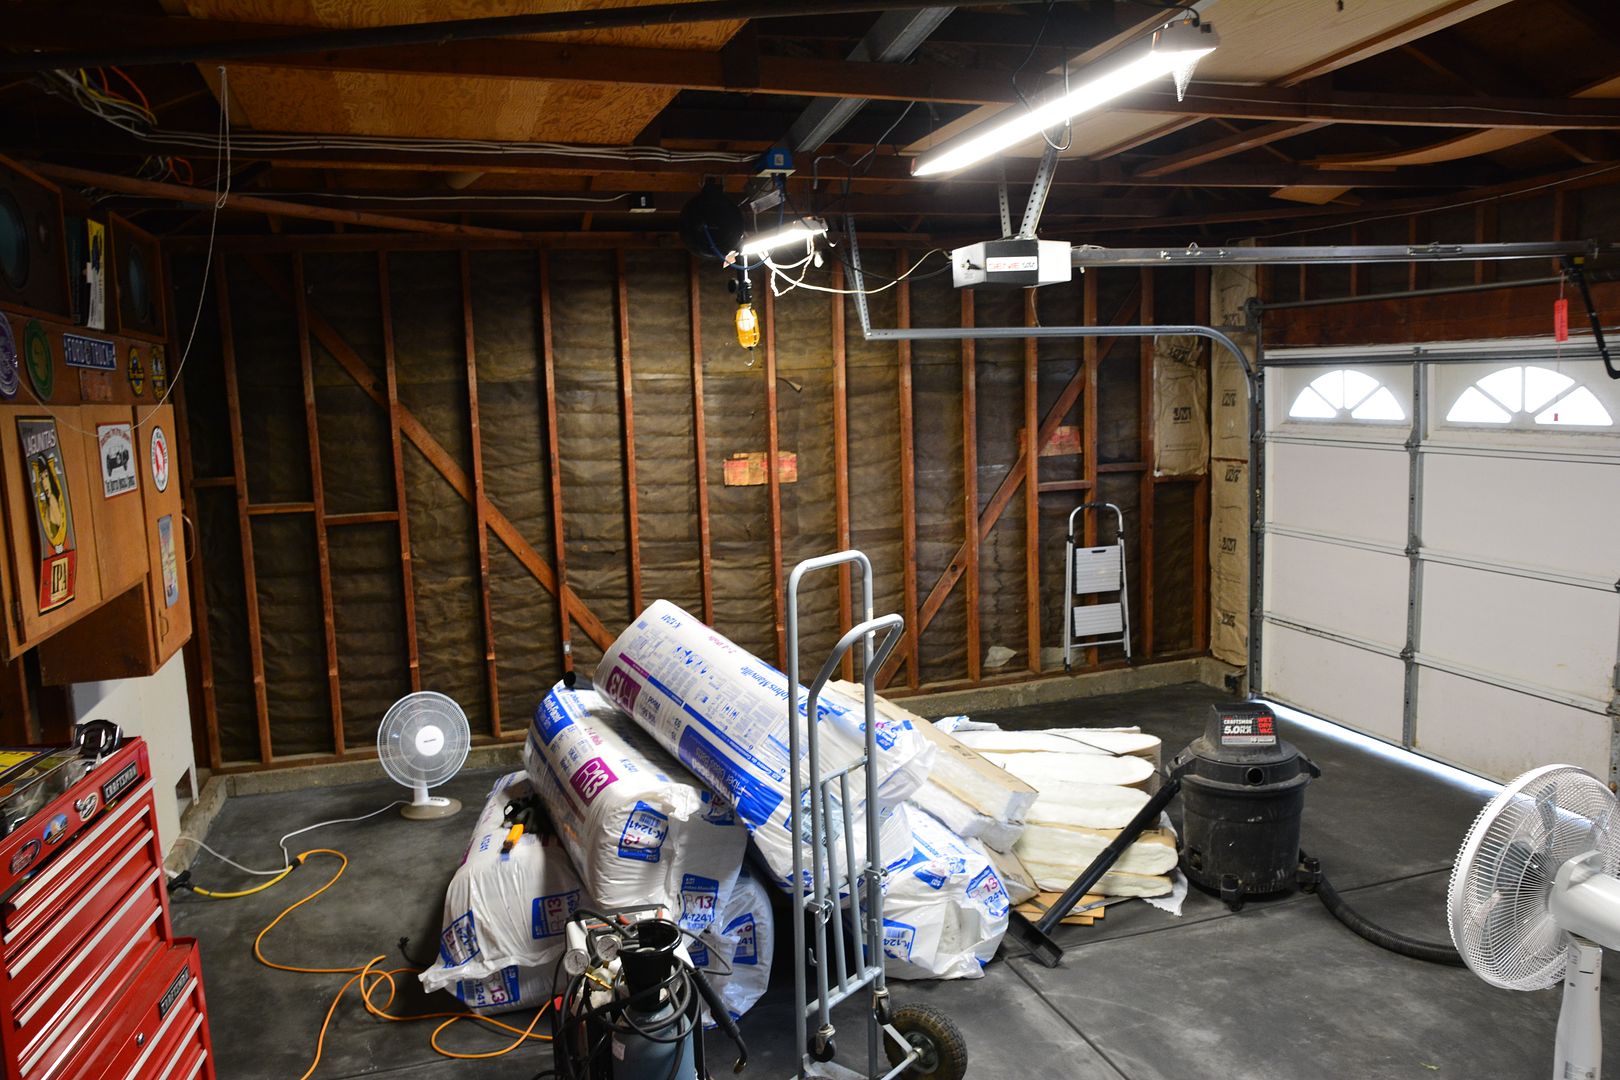
With the shelf out insulation and some extra electrical sockets was next


 Slab was 4.5 inches thick with a slight tapper from back to front for easy water drainage. And for the first time in six years my garage door has no rat entry points!

I went with some black dye to darken slab and better hide any future stains from oil etc.


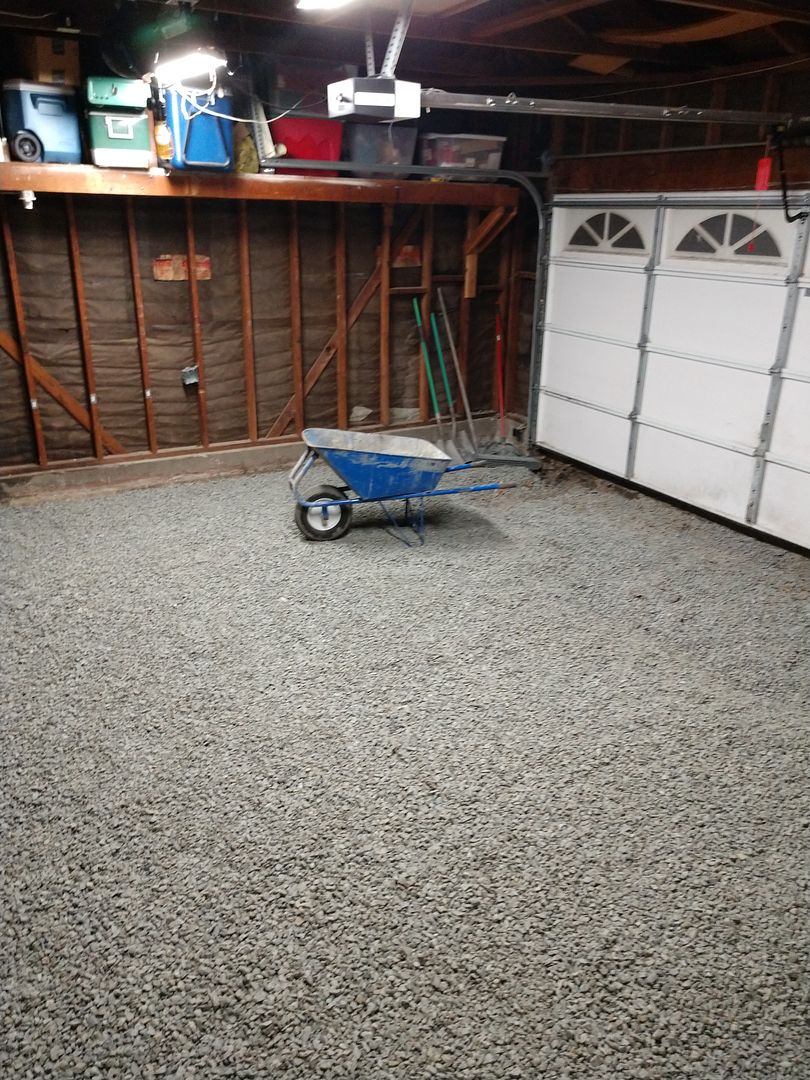
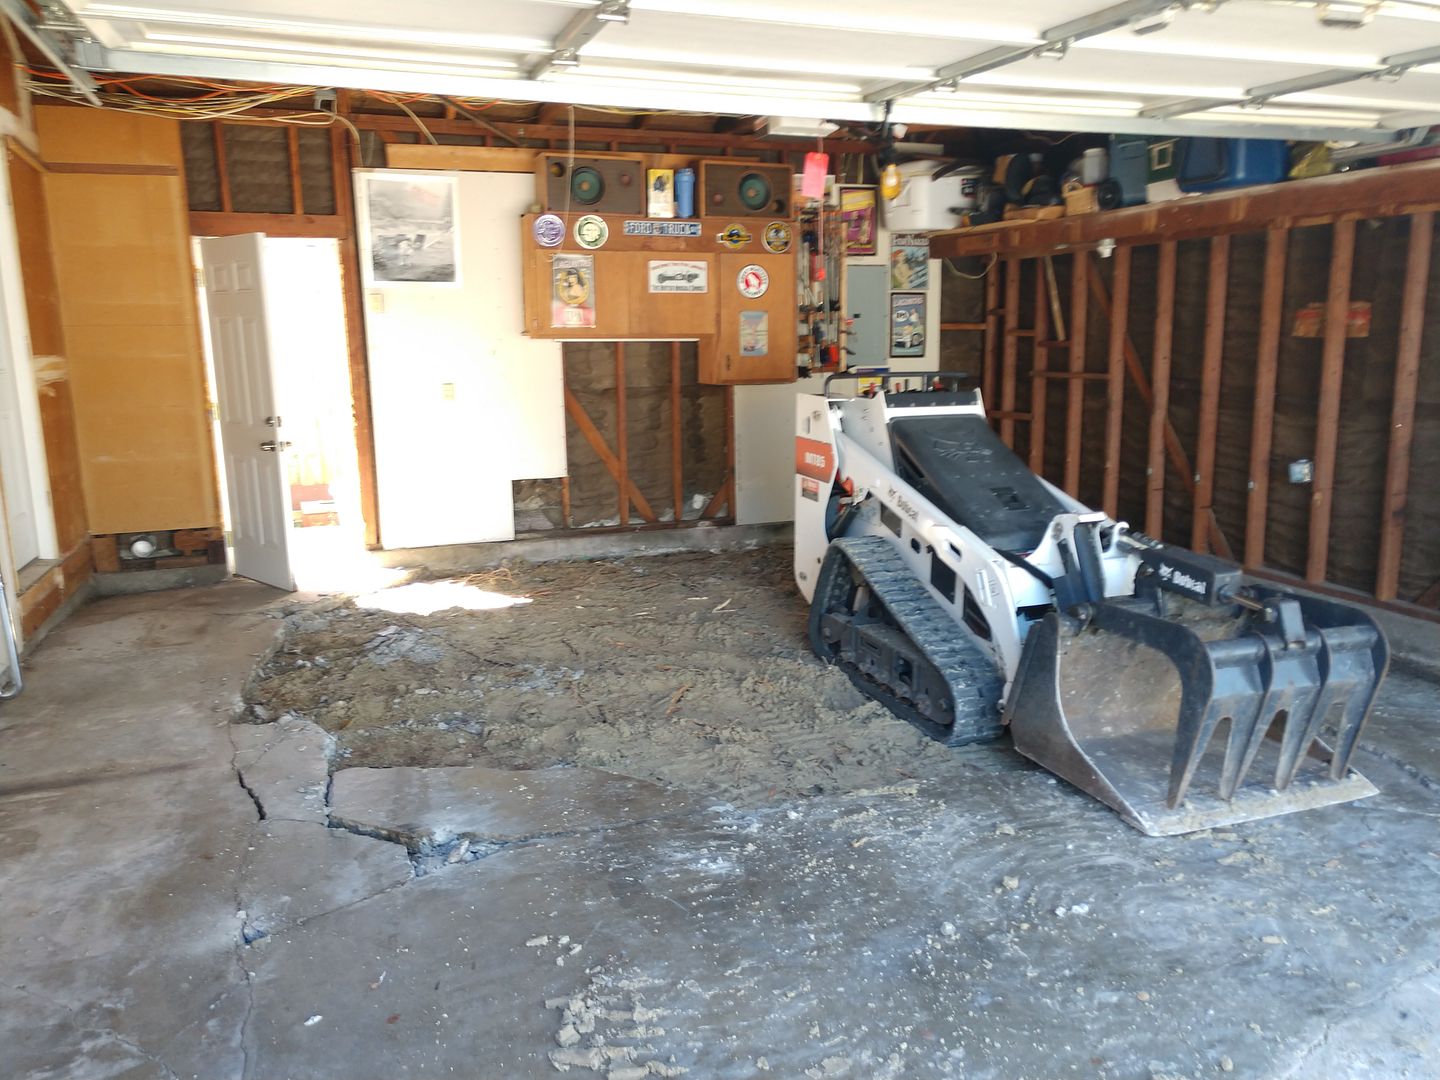
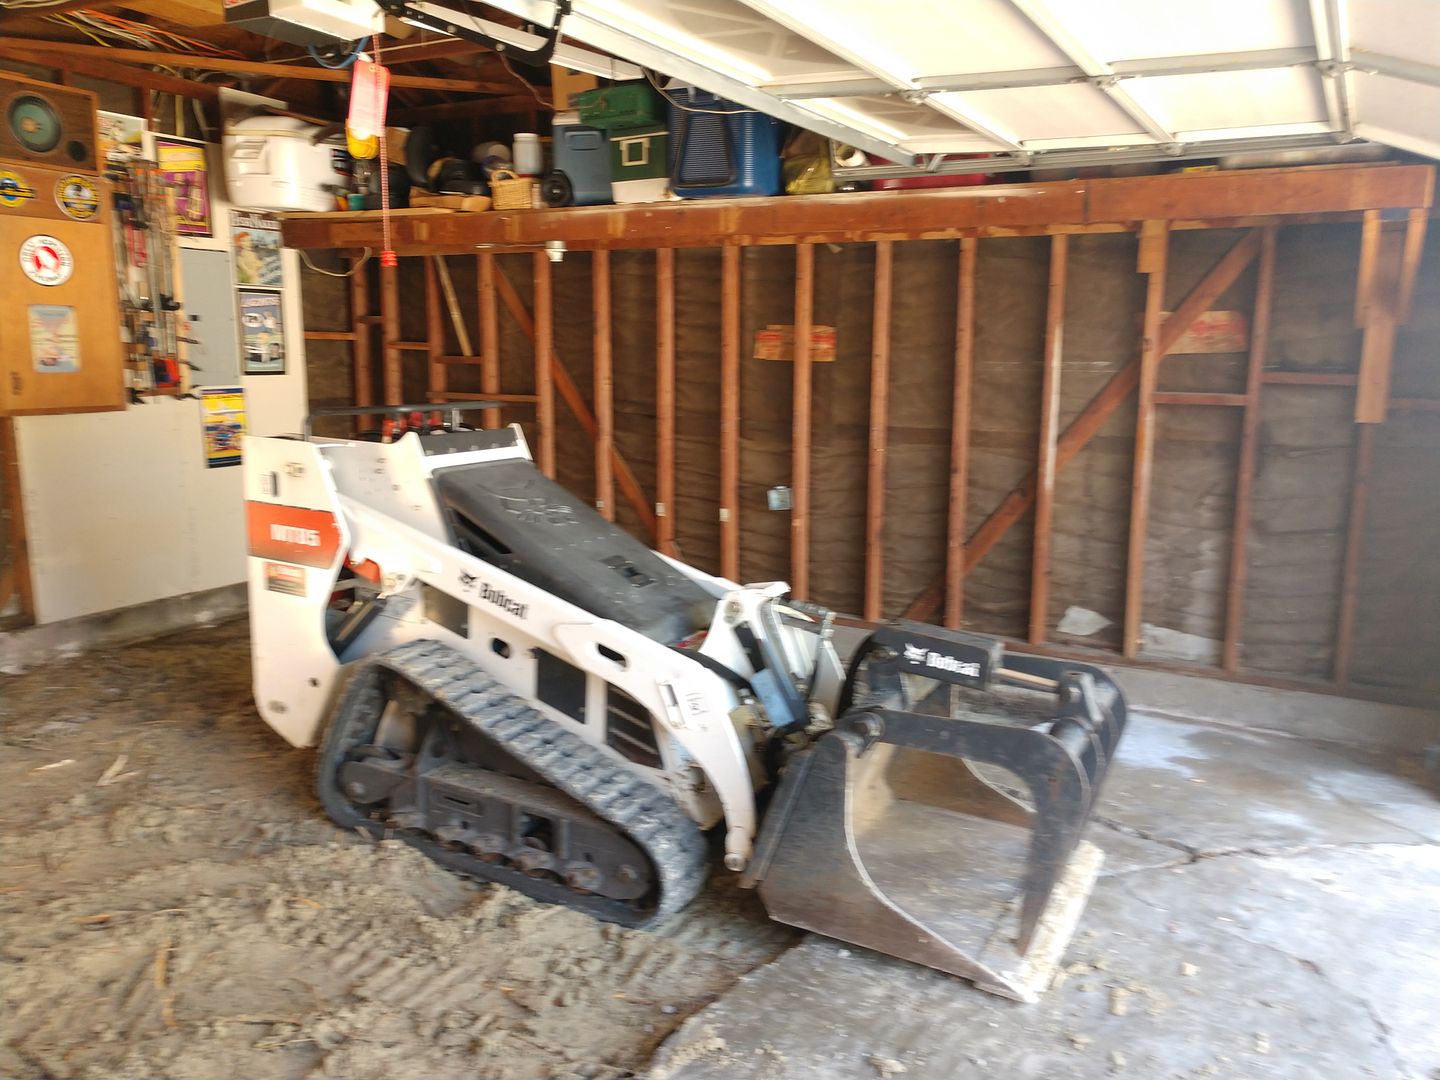
 All that was under old slab was sand and roots. The slab was literally less than than an inch thick  in places and poured on top if sand. Another two days were digging down deeper and removing a bunch of fairly thick tree roots coming from my neighbors fig tree.

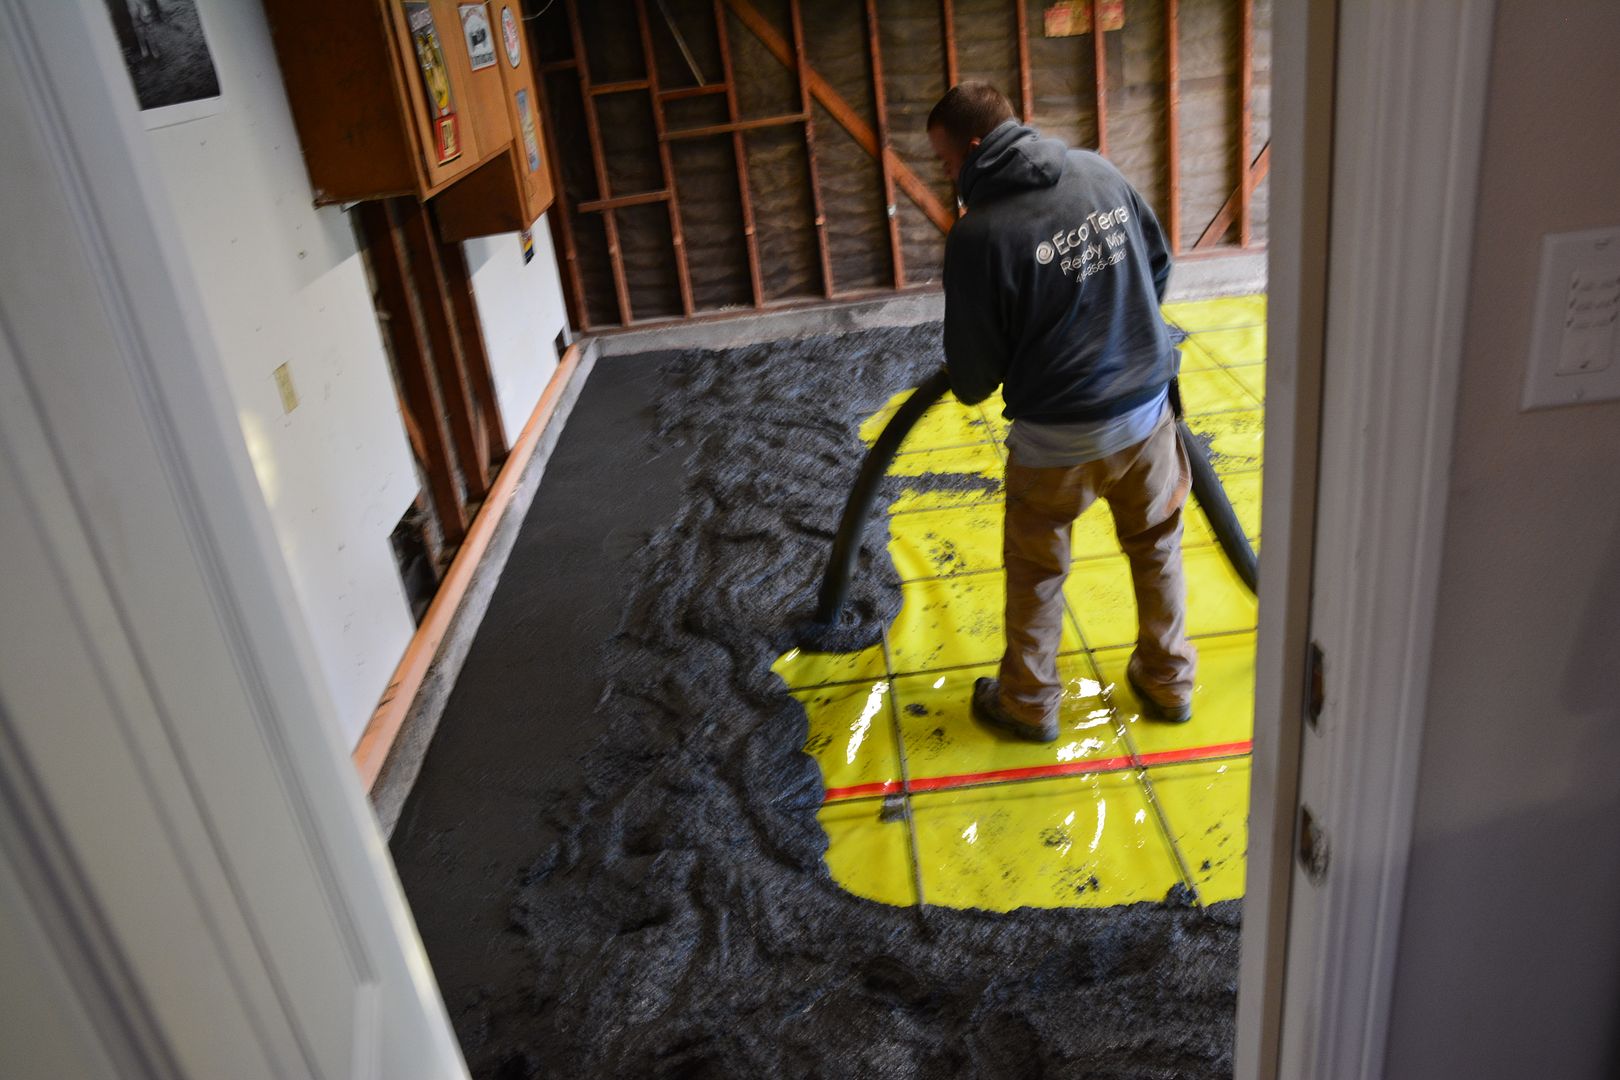
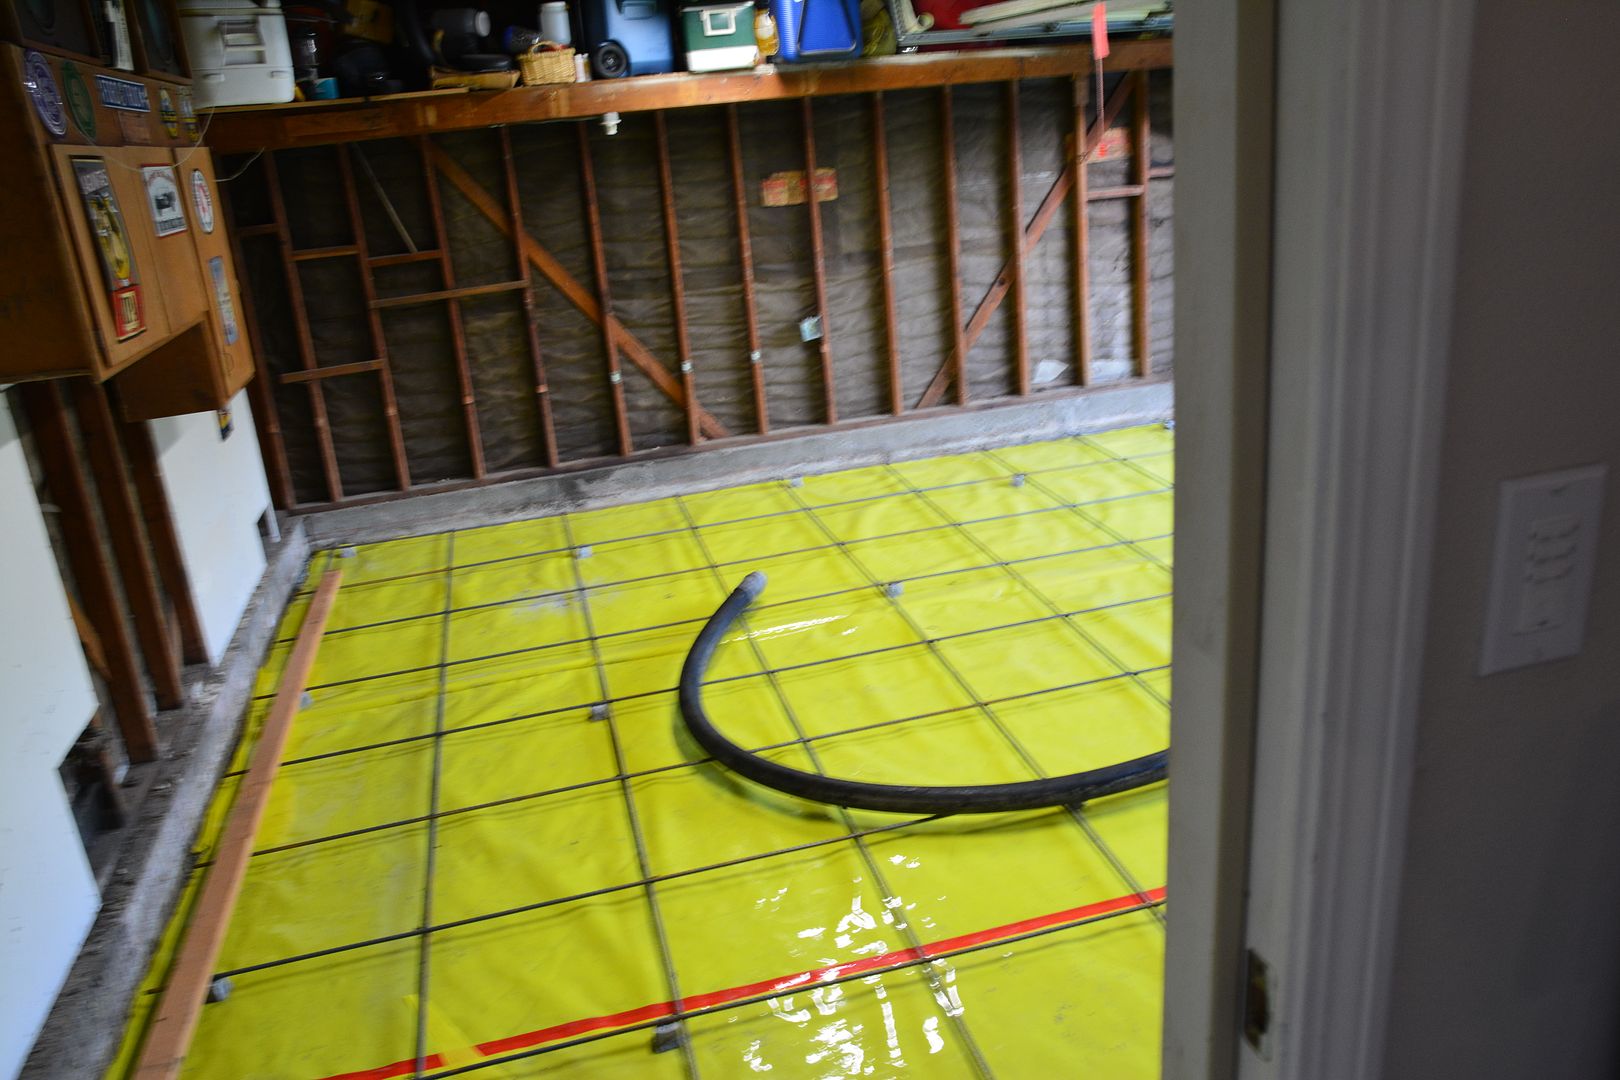
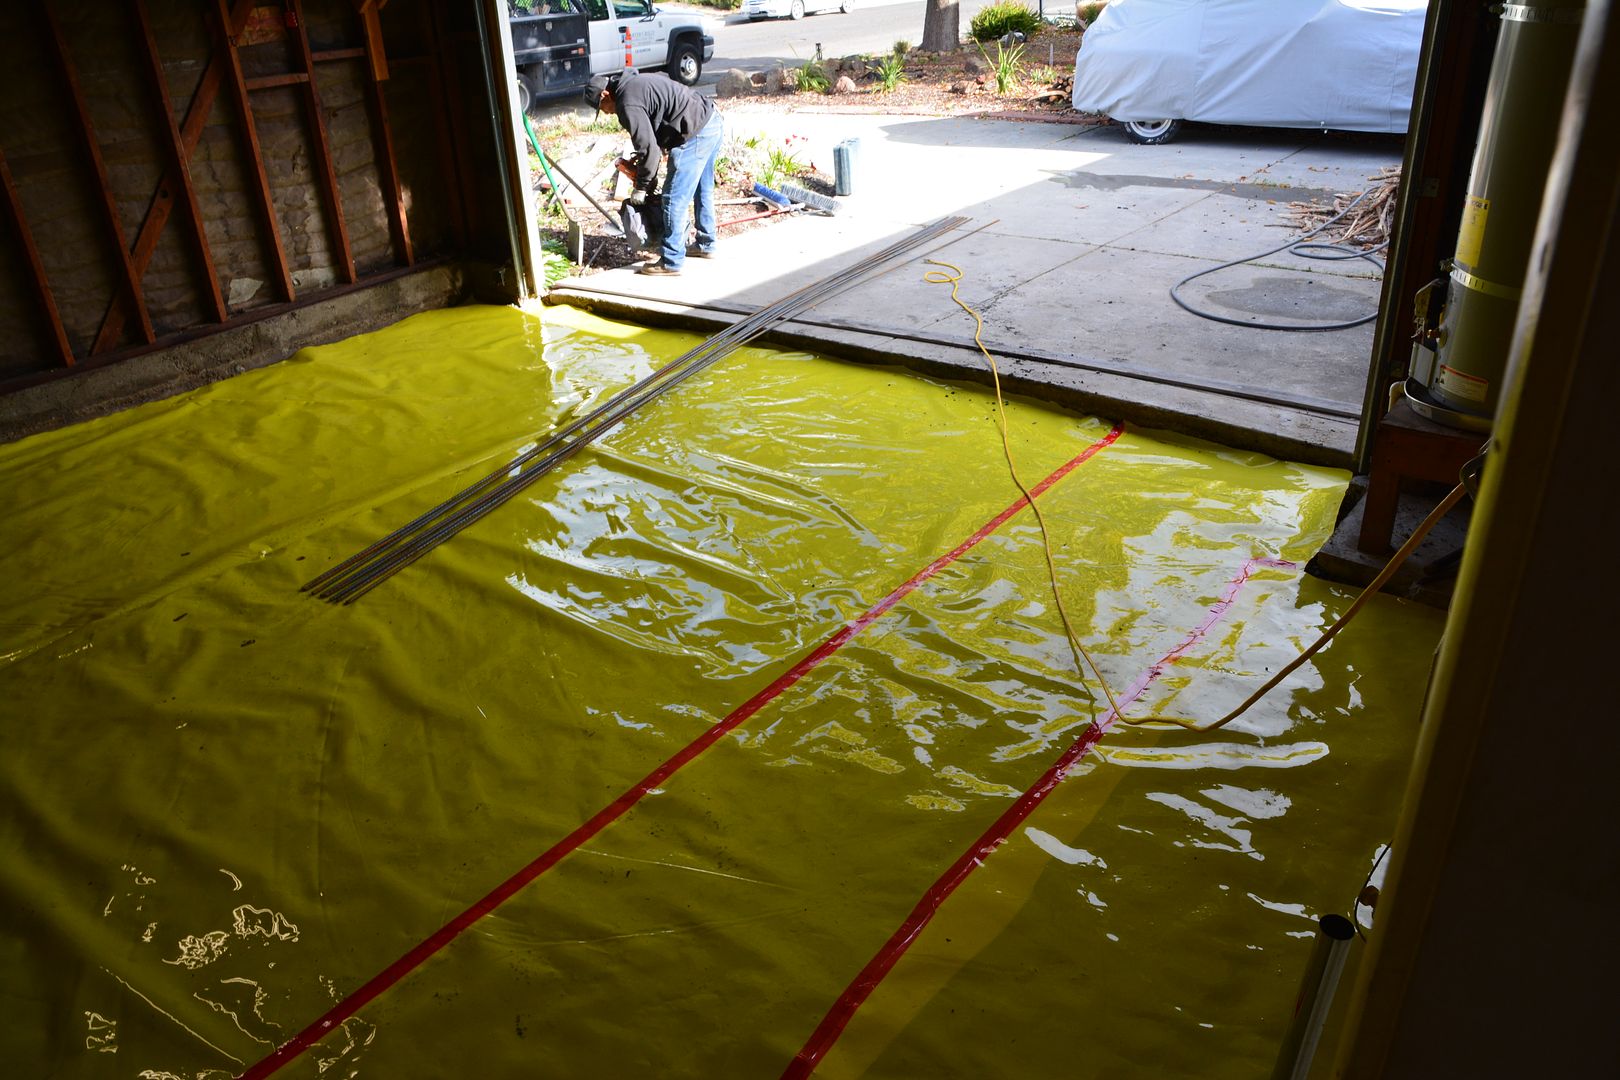
Then adding a base of packed gravel. followed by a water/vapor special plastic for cement, and rebar!


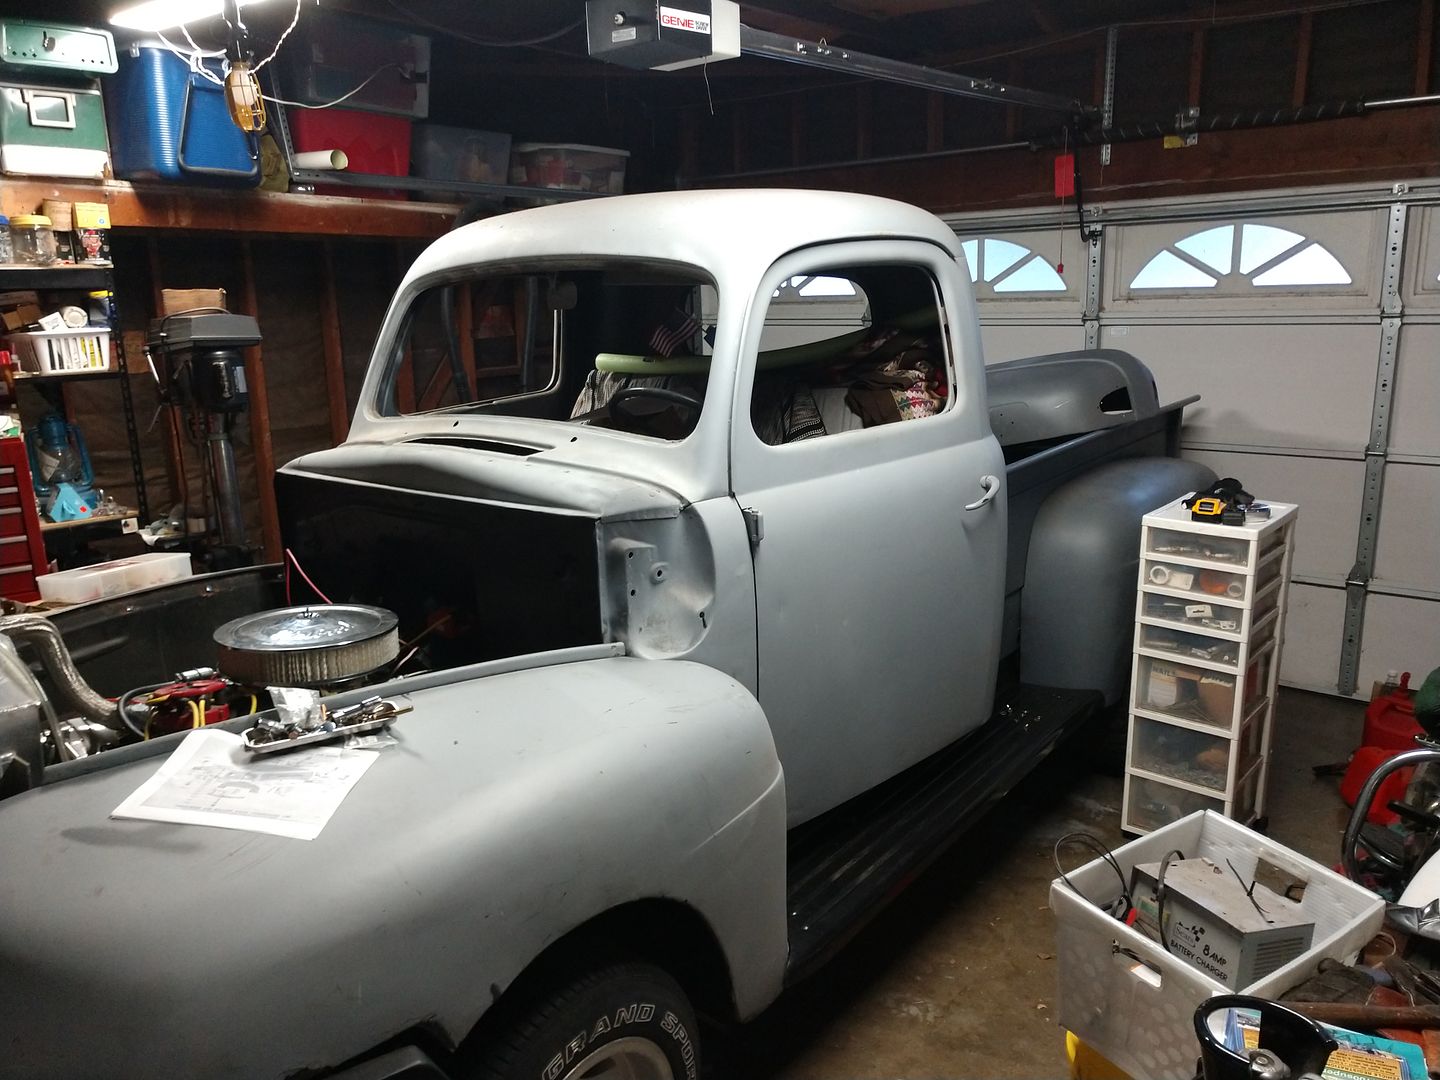
The last few months have been devoted to fixing the Garage. Between January and February I put most of the front end body panels. I had to order new passenger side and driver's side hinges which were lost in the mail delaying the hood going on. This was frustrating because in March the truck had to go outside! In the end it is sitting where it should be but not secured on. I got a nice water proof cover so it should be fine until I finish the Garage. 


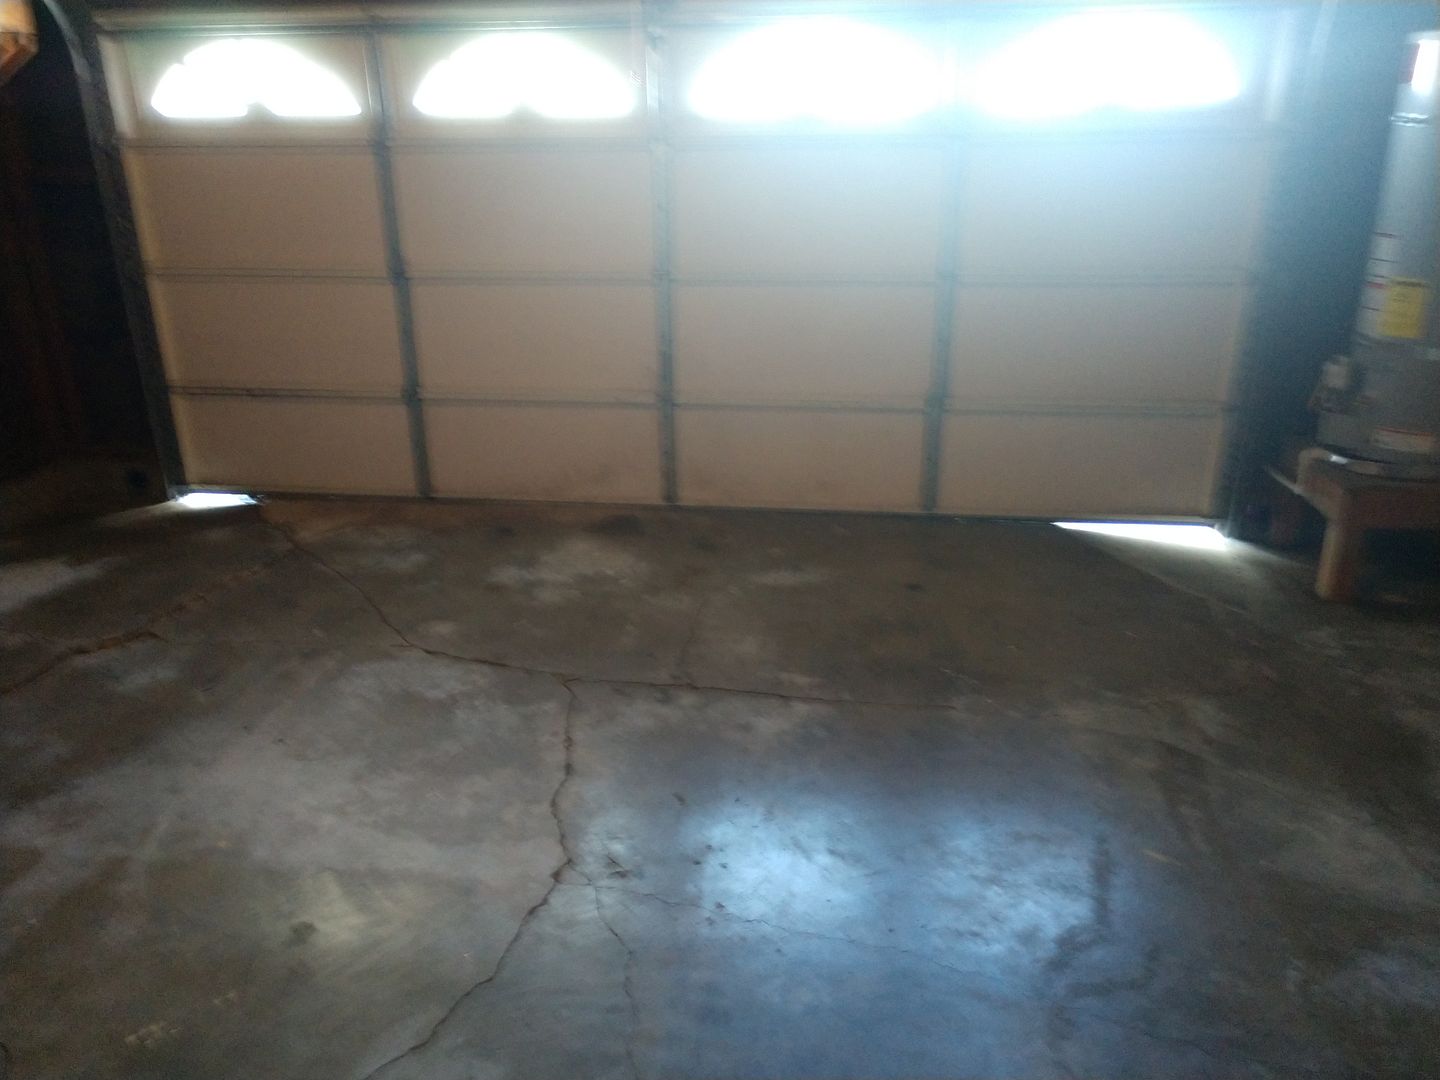
This was all necessary in order to gut the garage and have the busted up, non rebar fortified 1960 slab out, and replace with a new one. These photos show how the floor was lifted in the middle and broken over time by roots under it.


https://hosting.photobucket.com/images/cc214/stovens/IMG_20220321_131033043.jpg


Monday, January 24, 2022

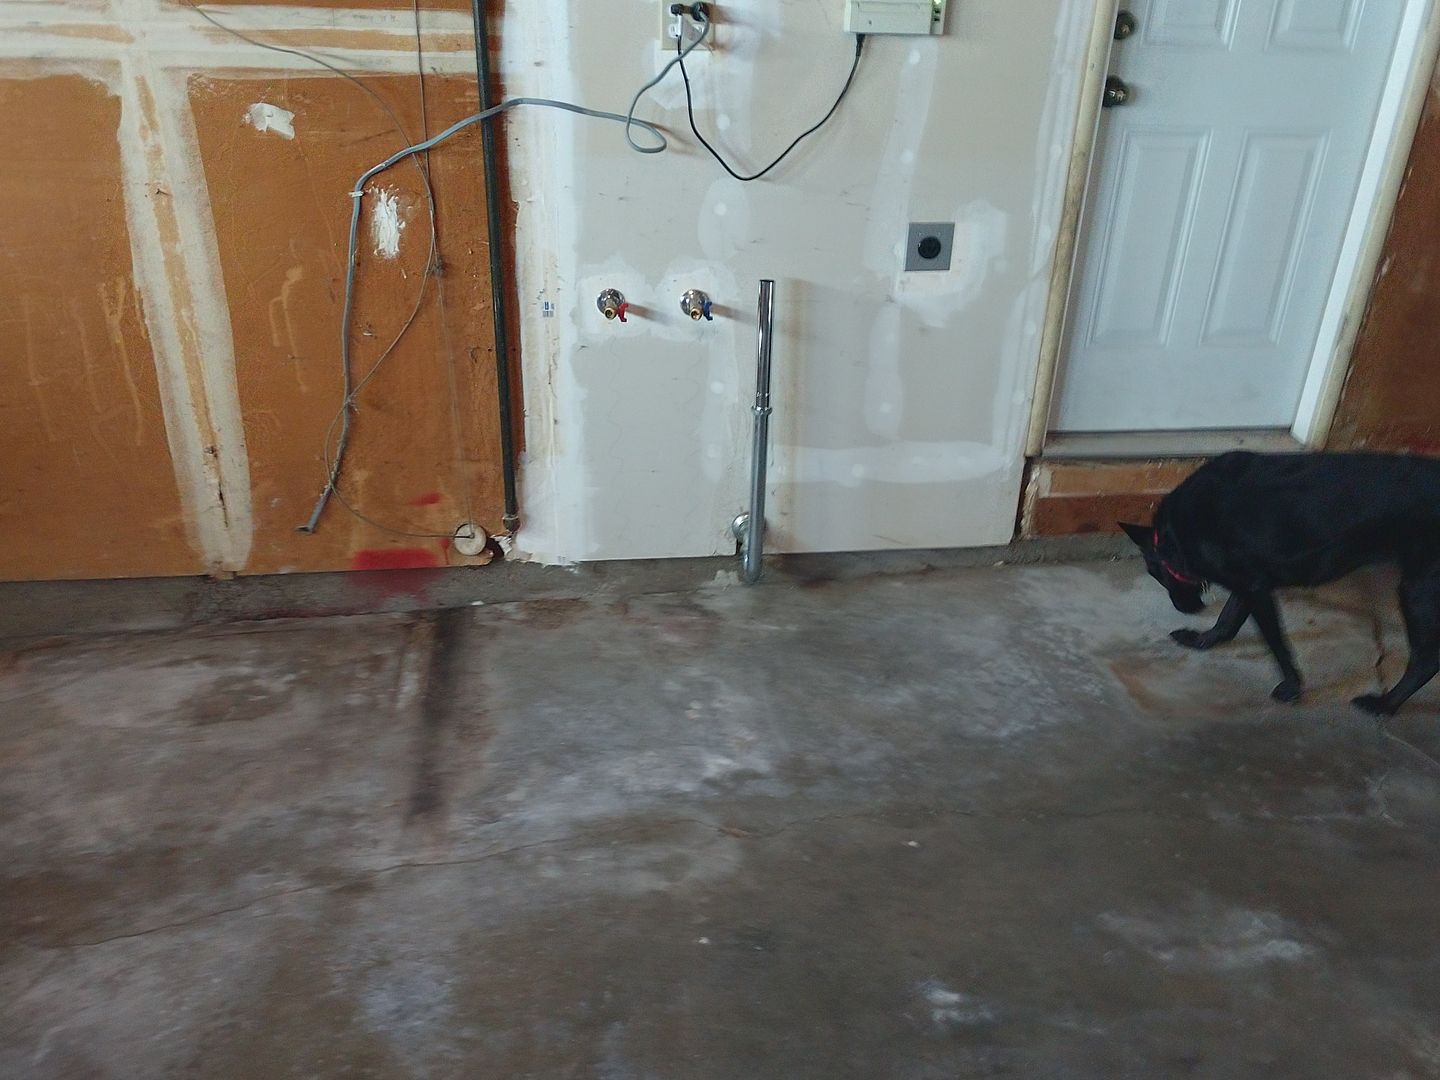
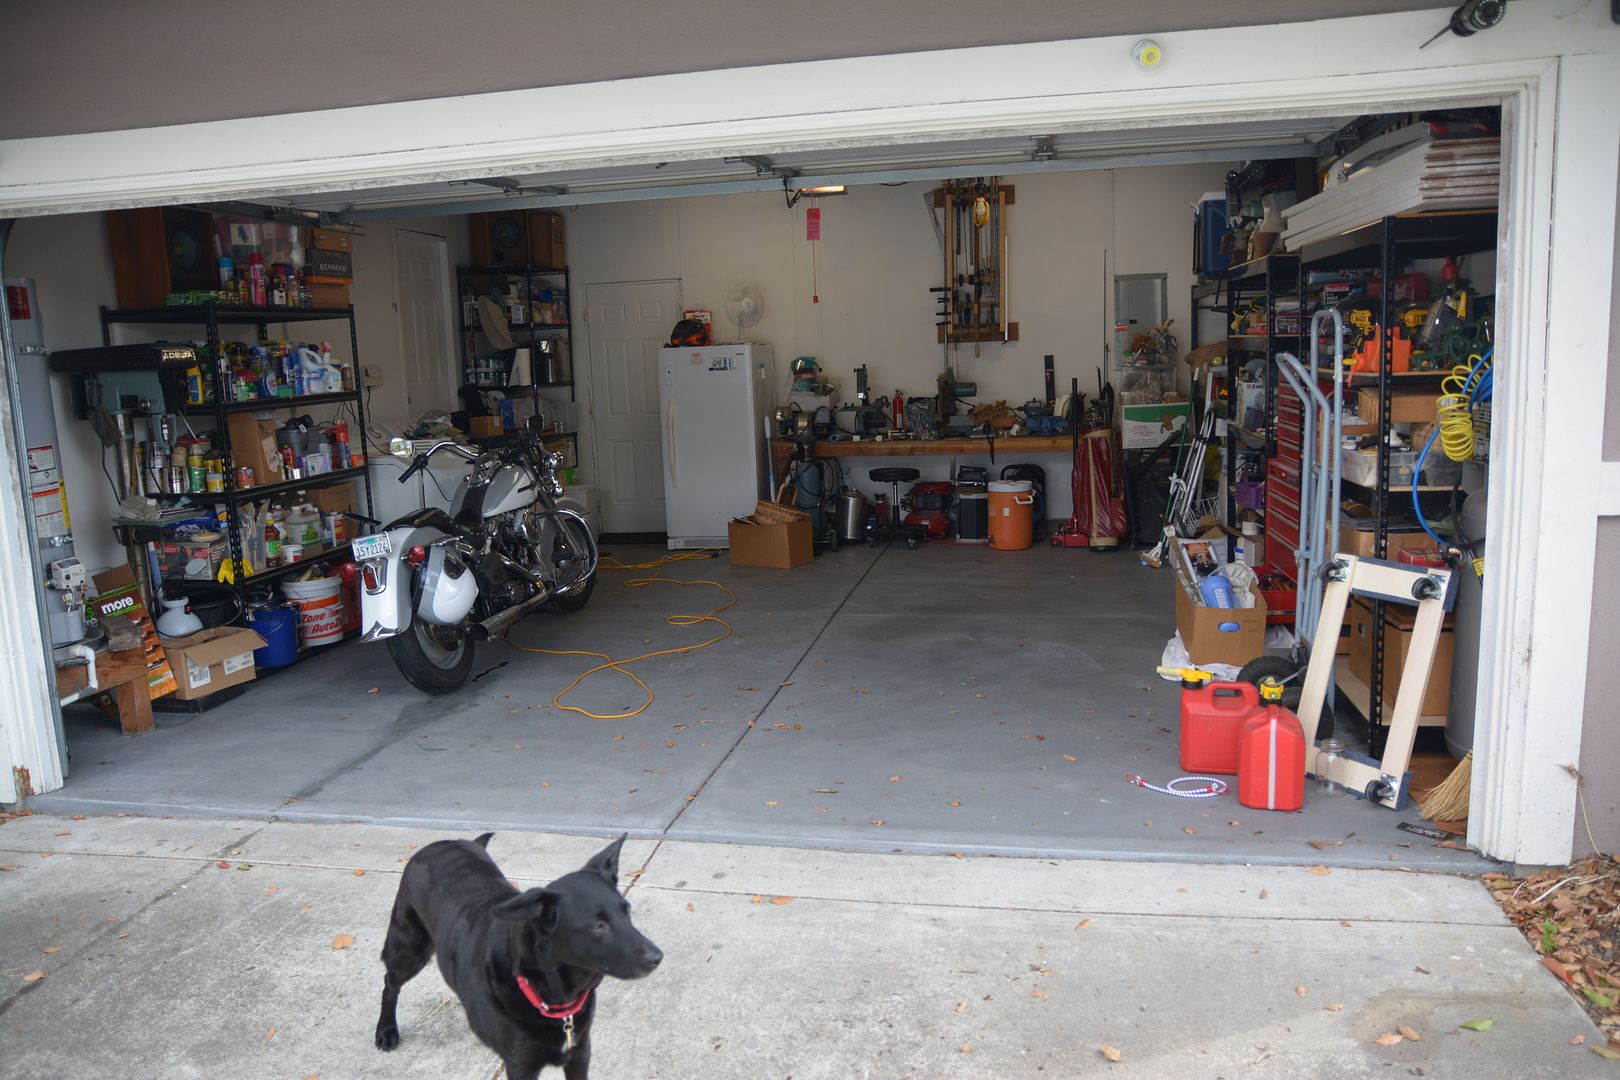
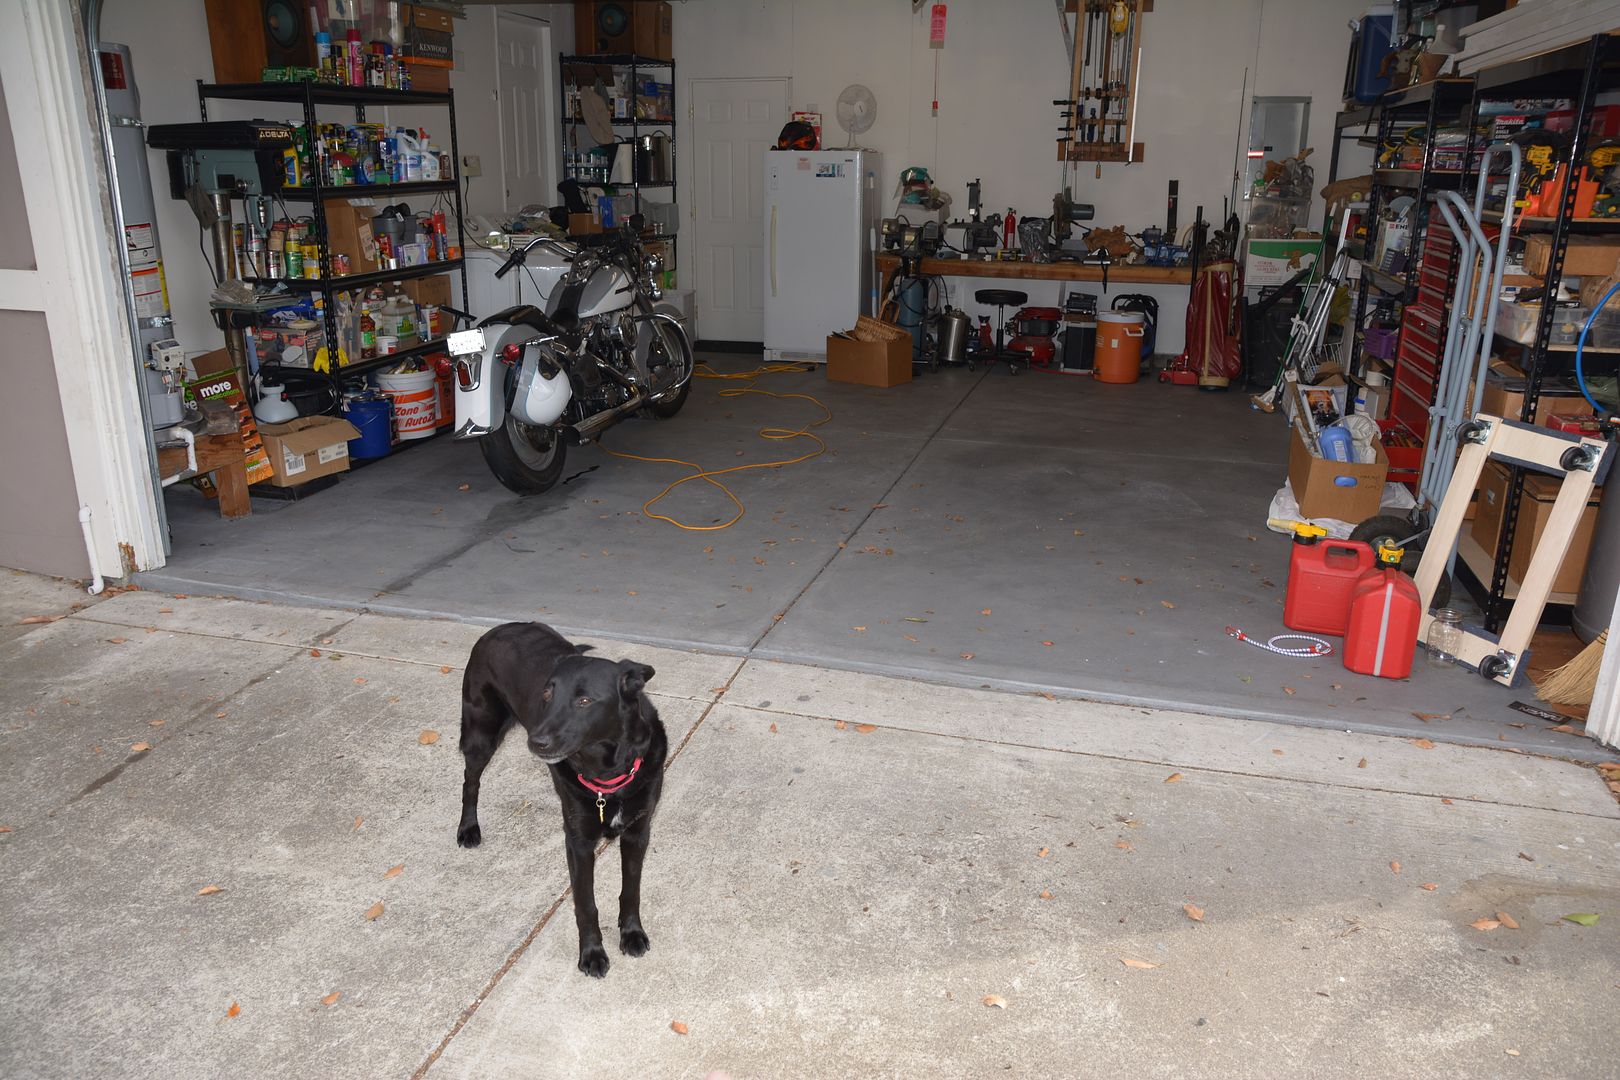
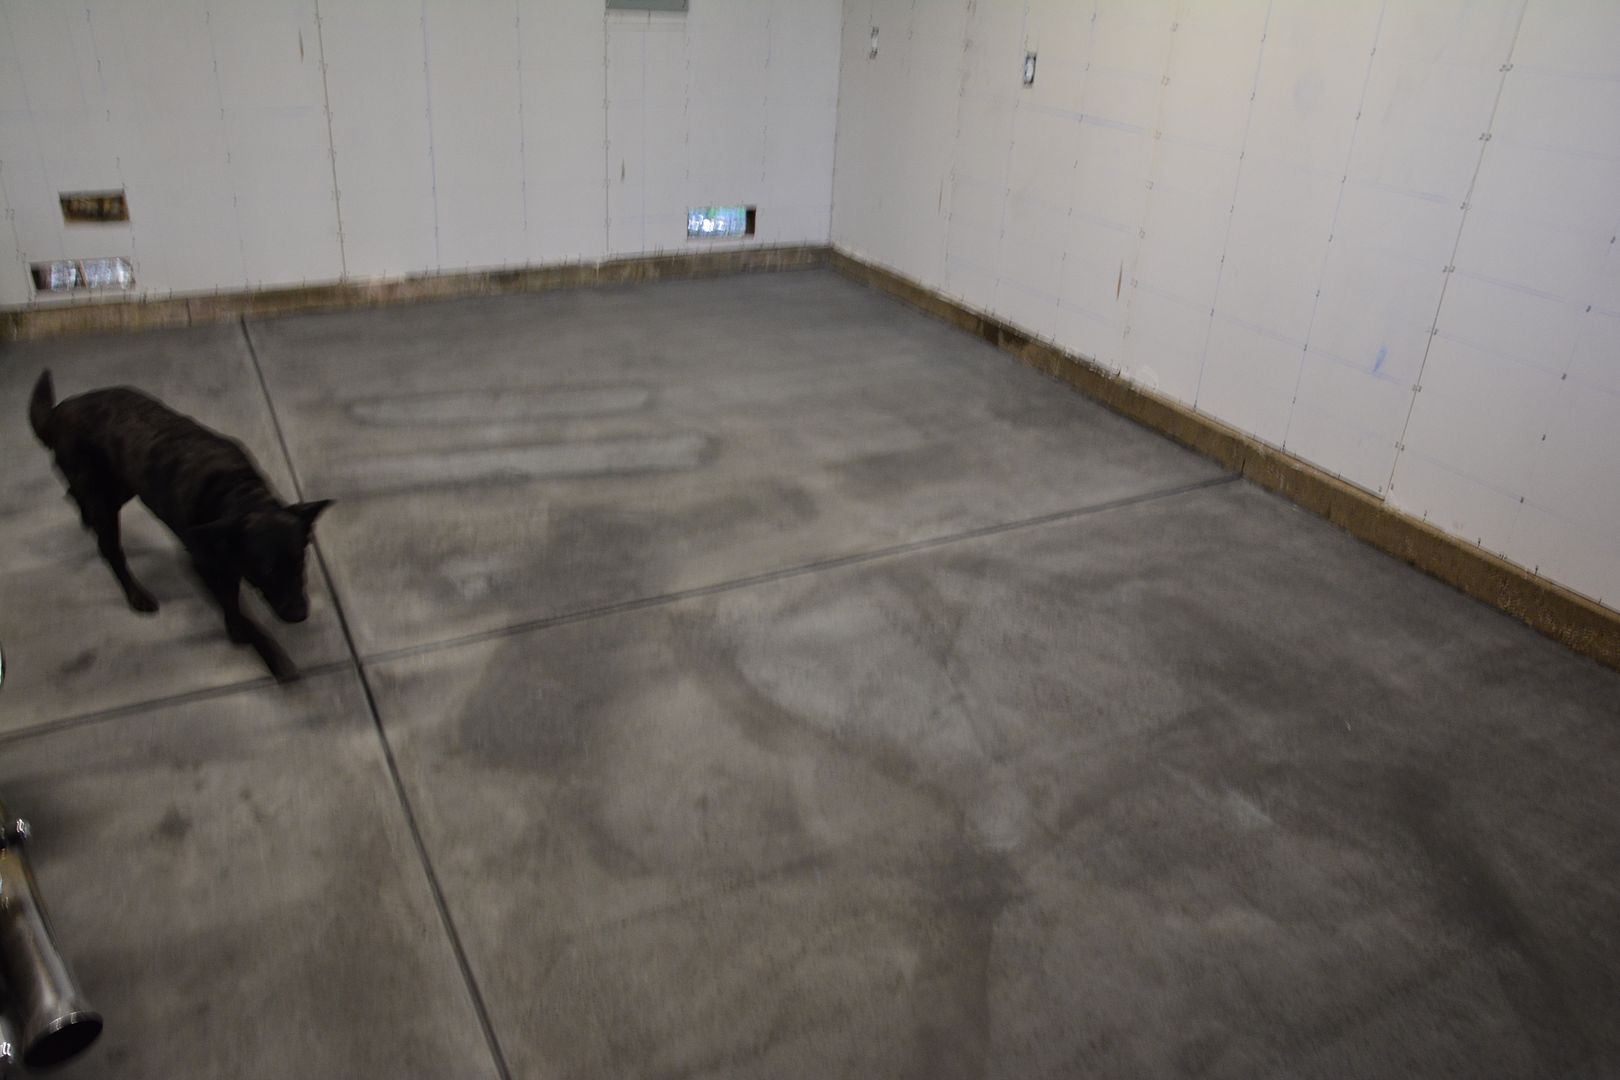
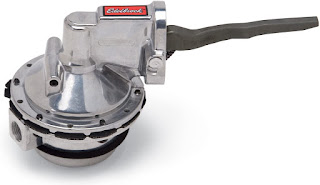
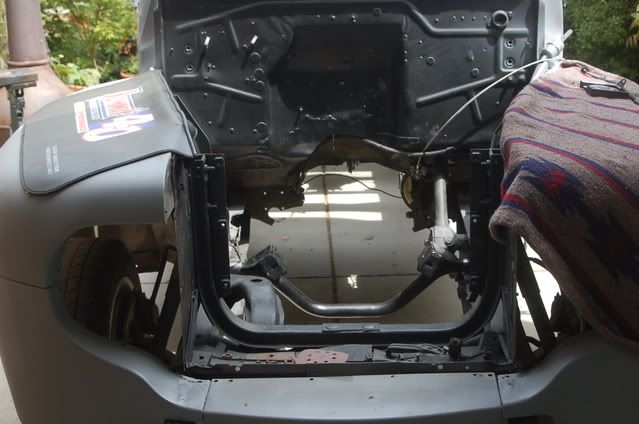
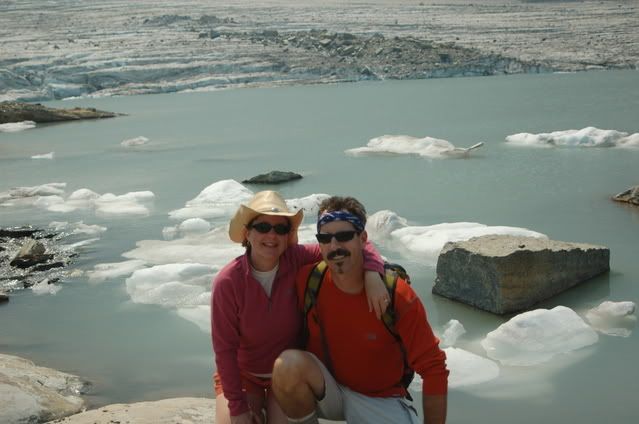
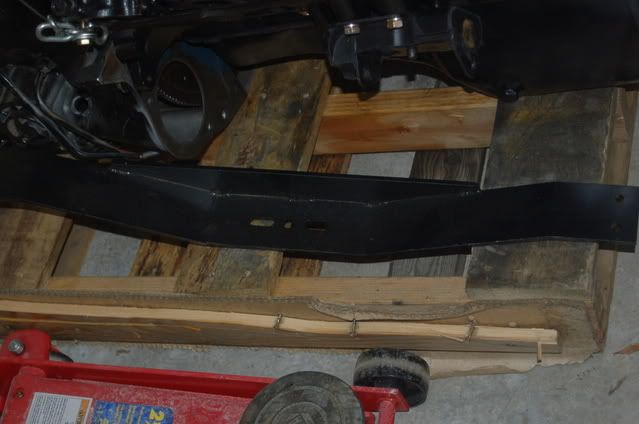
 Well it has been quite a few years since I have updated this post. Life, Divorce, Moving, and busy work schedule slowed me down to a crawl. But I am happy to say the truck continues. Will be posting more regularly as the weather warms up! Stay tuned. Below is the new fuel pump I recently added, my new dog Wednesday as my old guy passed a few years back, and pictures of the front boxed in frame and some custom welding to allow a notch in the frame for passenger side header to clear. What is too hard to get a picture of is the internal extra plates welded in that big notch that help add beef and anti-buckling there!


Thursday, April 30, 2009

Another interesting set back of sorts was figuring out what transmission fluid went in the new transmission. It turns out even though the c6 was made originally to run on type F, Since it is rebuilt it now has different materials the internal clutches are made of, so no type F instead Mercon or Synthetic. So I decided to use Mobil 1 synthetic ATF which will extend the life of the tranny according to my transmission guy!


Here are a few more shots of the torque converter shaft and pilot bearing on the back of the crank shaft, also a picture of the new transmission cross bar.


I've spent the last few months dealing with parts. First getting a pair of matching motormounts for the engine.Before it was over I had three passenger side mounts and no drivers aside mounts. This whole process ate up the month of March.Next when I went to attach the motor to the transmission the engine would sieze up when the transmission housing was torque tight. Two weeks later with lots of online help, I discovered they torque converter shaft was too big in diameter to fit the pilot bearing in the rear of the crank shaft. So next I returned the torque converter and exchanged it for the right one which fits perfectly and is finally permanently in place, I hope! In the mean time my neighbor Mike and I did a few dry fit tests with the new motor mounts and the engine with tranny attached. Come to find we had to cut out the old transmission crossmember, leaving enough for the brake booster to bolt too, but clearing the center section which was too narrow to accomadate the C6 transmission forcing the engine to stay too far foward. Hopefully next weekend we will once again try to get it into place!

Monday, February 2, 2009


Worked this week end on truck and steering wheel removal. Learned valueable lesson about mushrooming the steering shaft on the threaded end. Long story short, the wheel needed holes drilled and threaded for wheel puller to attach. Once on the nut that holds wheel on wouldn't fit with the bolts for puller in place. The puller didn't pull the wheel, it mashed the end of the shaft. Today I put a bolt down the center of the shaft to protect from further damage and then heated the base with a torch. The wheel came off pretty easily this way. Here are some shots: